A bit nippy on the tits today.
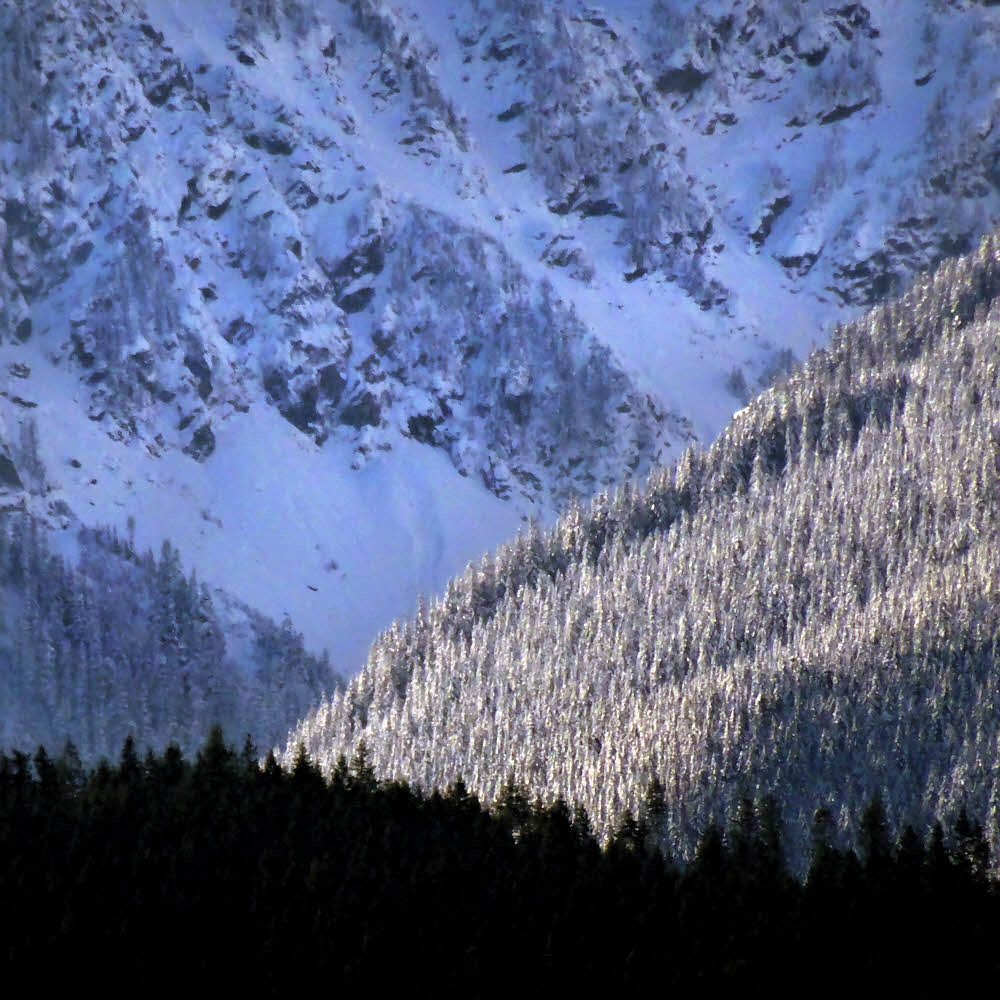
But picturesque.
I never know what I'll find there. At Swain's General Store. It's a guy place here in town.

Got stuff. Fishing stuff. Hunting stuff. Camping stuff. Hardware hardware. Household hardware. Outdoor clothing.
In the outdoor clothing area, that's where I saw the wallets. $12.87 each. Tyvek wallets.
I came home and looked them up. Made by an outfit called Dynomighty. Got a bunch of tyvek wallets, them, with a selection of printed designs. Go there and see.
Or you can make your own, either the right way (see link to instructions below), or the sloppy way (i.e., whatever).
Might be right for someone out there. Might be right for you.
The Mighty Wallet is tear-resistant, water-resistant, expandable and recyclable. Made from Tyvek (think express mail envelopes), these cool wallets resist tearing because of thousands of interlocking plastic fibers spun in random patterns, giving them incredible strength.
The ingenious origami construction was and is the original folded paper wallet designed by Terrence Kelleman. The stitch less design reinforces the materials own strength and allows these very slim wallets to instantly expand and adapt to your own personal storage needs. The Mighty Wallet will expand right before your eyes.
Because of the slim, lightweight and water resistant features, you can take these cool wallets anywhere. They make great "night out" wallets for a slender silhouette and the writable surface conveniently acts as a quick note pad on the go.
In time, the Mighty Wallet will gradually soften and patina but, even after years of wear, it will still offer surprise and solicit intrigue.
Check them out...
Make your own gear: 5-gram Basso Bifold Wallet (via Andrew Skurka's site)
Selected print samples...
The details of packing a pack.

Stuffing your pack is about the most serious thing you're going to do on any normal day next to scratching, shooting snot rockets, and speculating about what would happen if you never went home again.
Stuff your pack wrong and it will hurt you, all day.
Leave something out, like a few tent stakes, your water treatment, your stove, or the car keys, and you will be hurting. Promise.
So you have to get it right.
This is a good excuse to have a checklist, a clipboard, extra pens, and carbon paper. Maybe an assistant, too. Possibly two assistants, so they can both watch you, and still check each other.
This is important. Every day, every time you open your pack, you have problems. The first problem is finding what you need and getting it out. The second problem is putting it all back. Back were it fits, back where you can find it again. Back where it won't fall out.
But most of all, back.
Leaving a fuel bottle under a bush is bad form.
Having to pull everything out of your pack to get at a matchbook sucks big time. Always.
The more efficient your housekeeping the more time you have to hike. Never tempt the gods. They will whup you like a chump. The gods love to do that. The gods love to do that more than anything else at all.
But best of all, the less you do the less you have to think.
There are two ways of looking at packing.
Deciding what to leave.
Which method is up to you. Screwing up is its own punishment. Don't plan on begging if you run out of food. Everyone needs what they have more than they need you.
True, you like your stuff. It's part of you. You want to take it all. So you do. And it starts.
There you are then, your pack is so heavy you can hardly pick it up even though you aren't carrying water yet, or food. And all you have in your pack is the bare essentials. Plus a few extra things. Just a few, but they're all really light, so what's the deal?
You've just been creamed.
Deciding what to take
That's one way to do it — starting with everything and deciding what to leave. The other way is deciding what to take. For this, plan on taking nothing. Zero.
Zero is step one.
Next, for step two, use one hand and pick one thing that you absolutely must have to stay alive, then branch out.
Say you've picked one piece of clothing, but what can you do with only a pair of underpants? Got to have a bit more, so what's one more thing that's absolutely essential?
Grab that. Hold it in your other hand.
From there, choose only the next item that you absolutely need. What you absolutely need for your well-being, for your comfort, for your safety. Regardless of what anyone else thinks.
So then what?
If using Plan A and deciding what to leave out, you might be stuck sagging under too much weight, but if something unexpected happens, you'll have a spare, or just the right odd thing to fix the rare odd failure. Like if you have super glue along, and a wheel falls off one of your little model cars, you're set. If you want to be.
Following Plan B, deciding what to take, you might find that you left out something you really do need, or that you don't have that spare thing you could use, or that you can't really cope too well if, for example, you have a July snowstorm instead of humid, drippy heat and thick clouds of mosquitoes, all of whom really want to get into your nose.
So either route can take you to a place that sucks. But it's up to you. Something will always suck. Face it, you're hosed no matter what. Backpacking is like that — the best of times, the worst of times.
You've been there. A mouse in your food bag. Or a rattlesnake in your pants. Something. You still have to manage because once you're in over your head, you're in, and it really doesn't matter how deep, because having a snake in your pants is not theoretical. You gotta do something, not think about it.
No matter how well you plan things, and no matter how terrifically you loaded your pack in the morning, it gets rearranged all day long, so organize the load based on how you plan to live. (It's good to plan on living. Don't underestimate the value of that.)
Group things by importance, accessibility, and weight. Similar things together, but you don't have to keep all of something in one place. Keep accessible what you need during the day. The rest can stay buried deep.
The basic ideas are...
That's about it then for a quick overview. A longer and even more interesting version of this advice will show up in a book I'm finishing up titled Bag On Your Back. (It's about backpacks, eh?)
Until then, have fun if at all possible.
From June 2001.
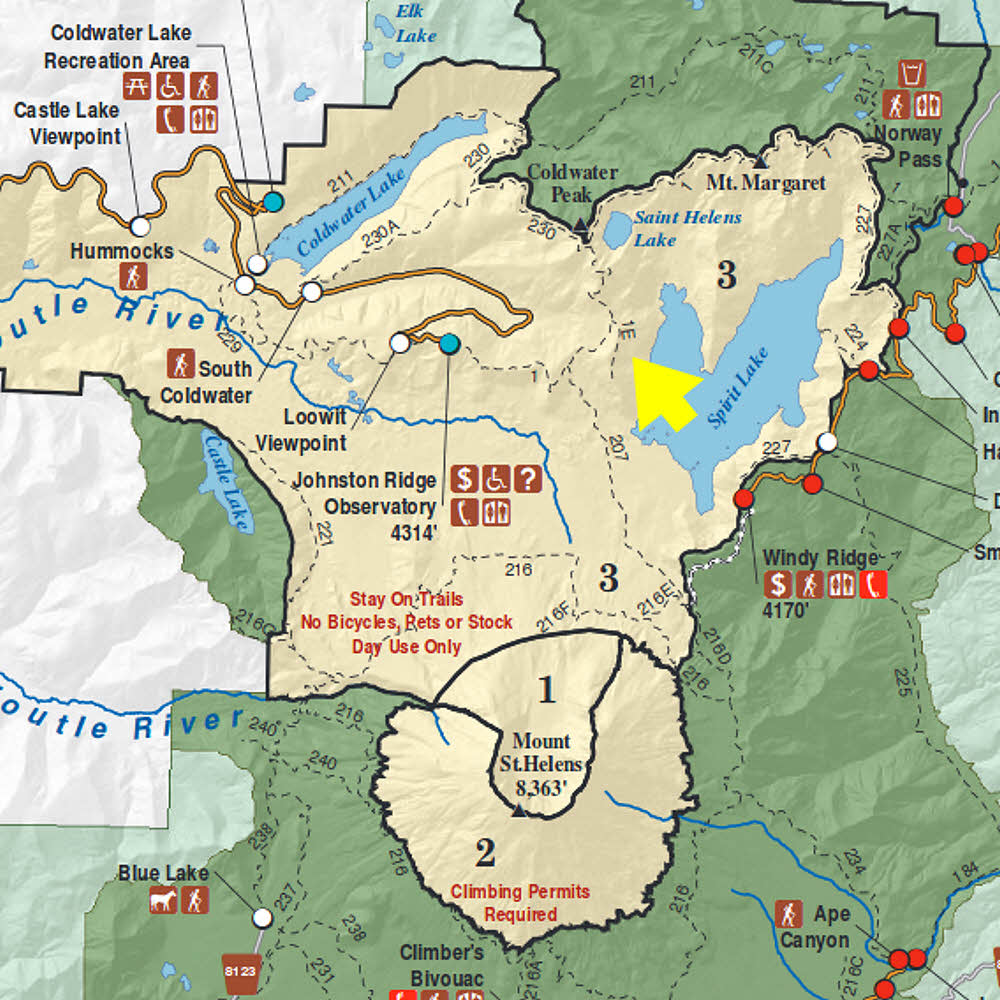
Area map. Look for the big yellow arrow, eh?
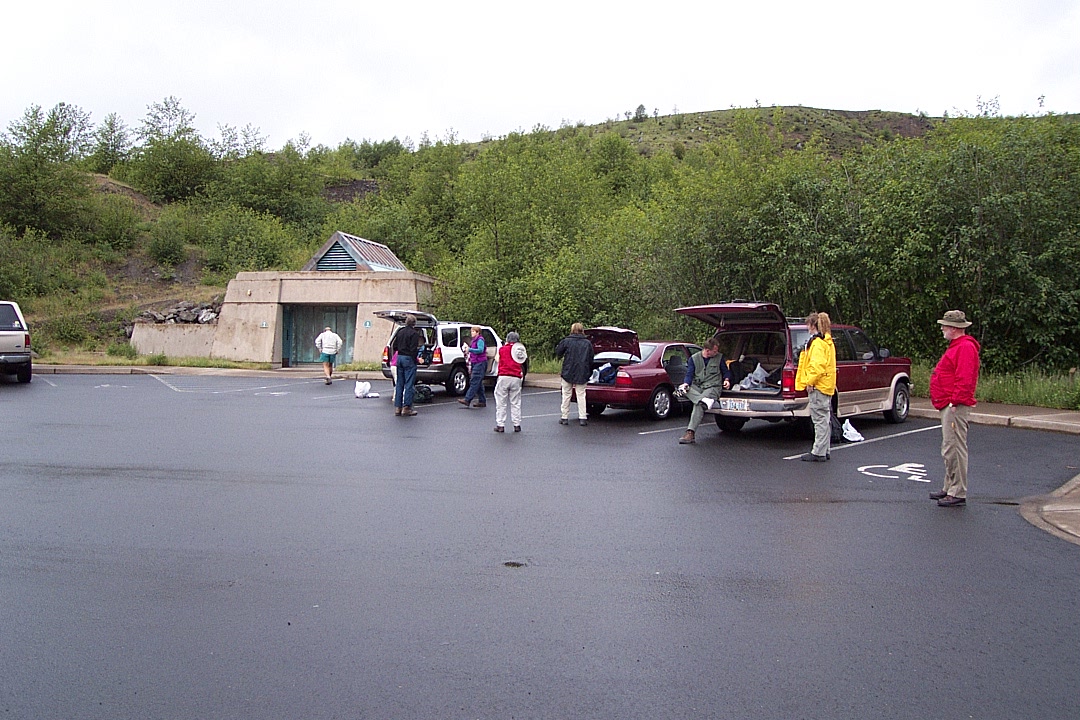
Arrival at Johnston Ridge parking lot.

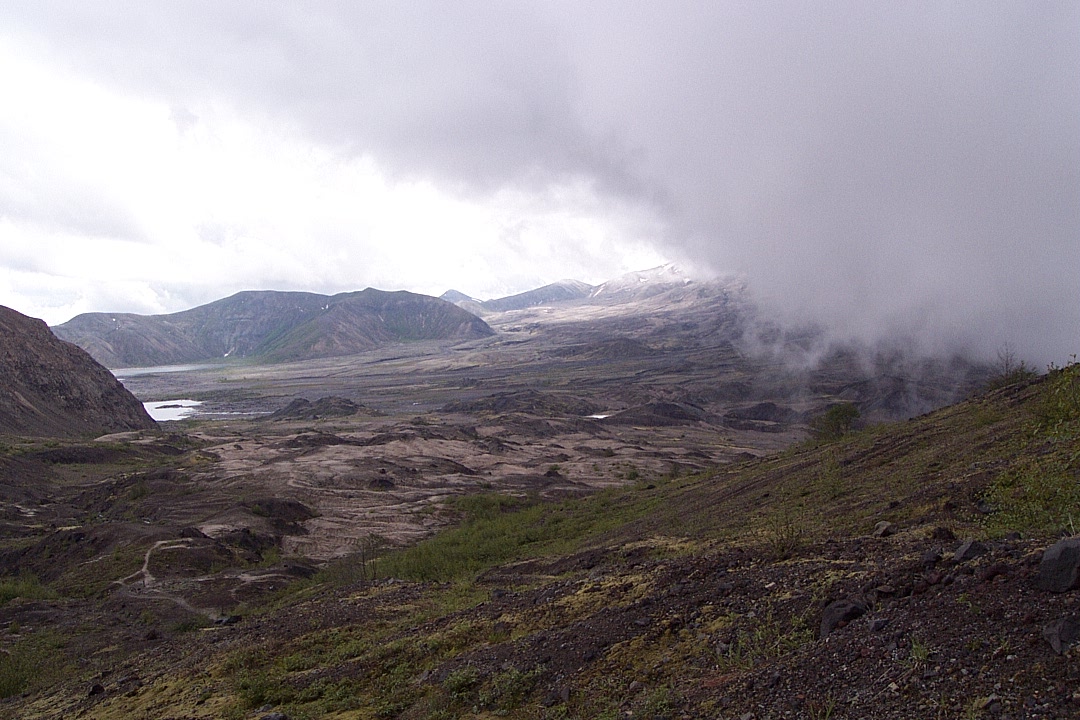
Sometimes the edge of bad weather is the best time to be out.

Or it can mean you're screwed. Hey.
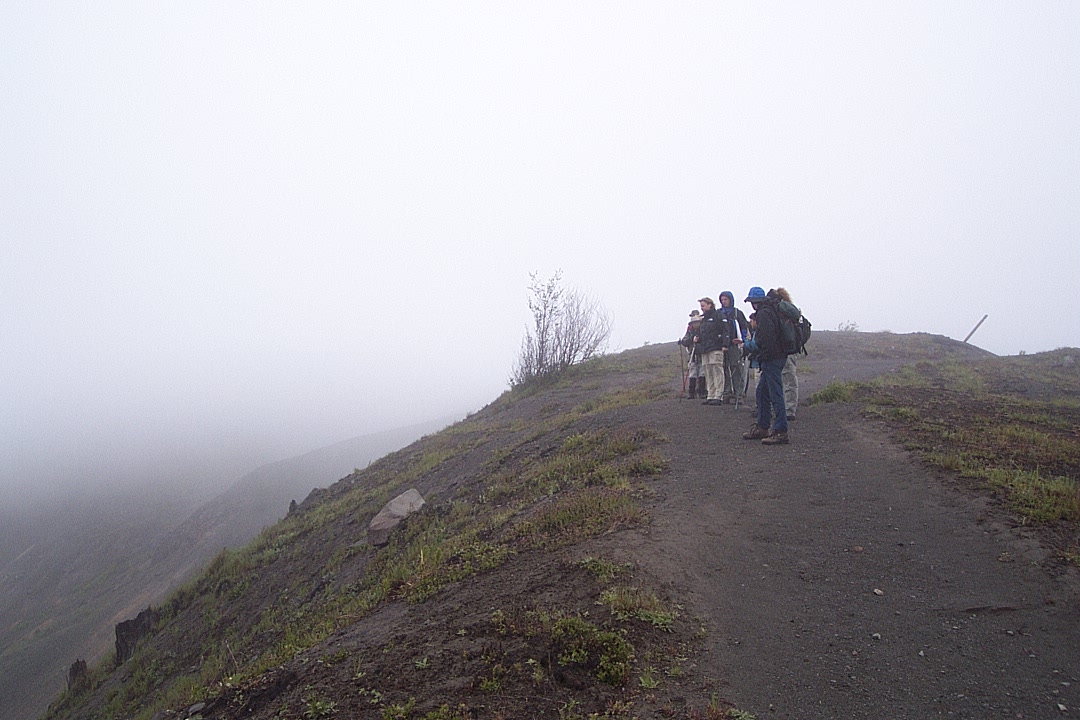
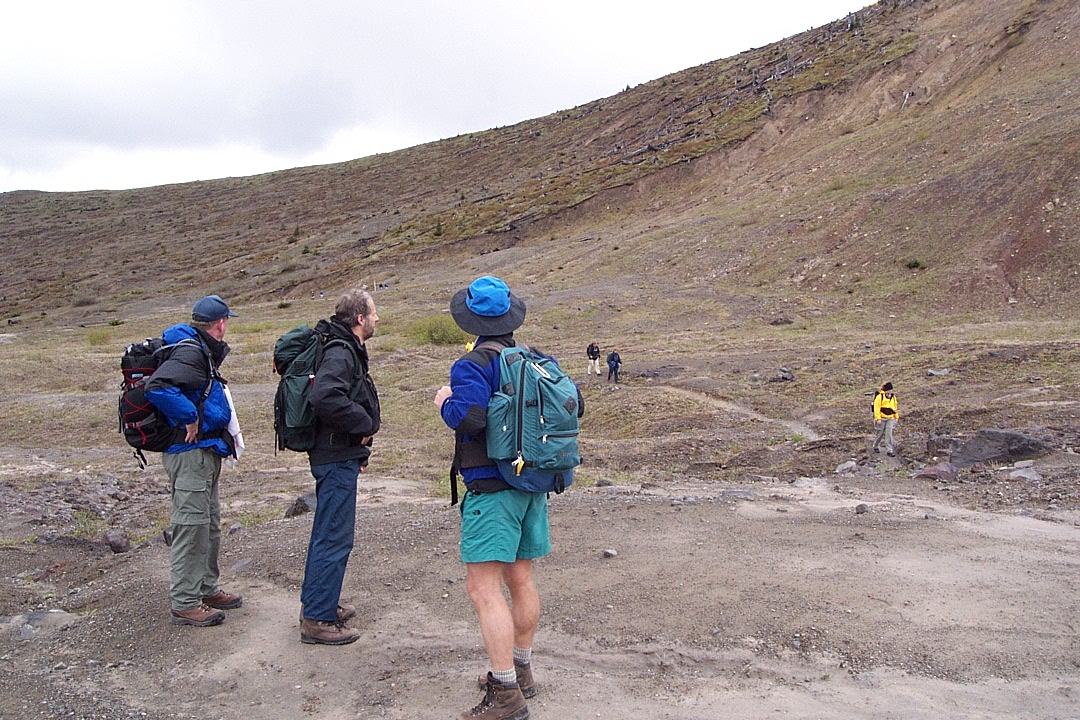
A bit east, at the start of the hike.
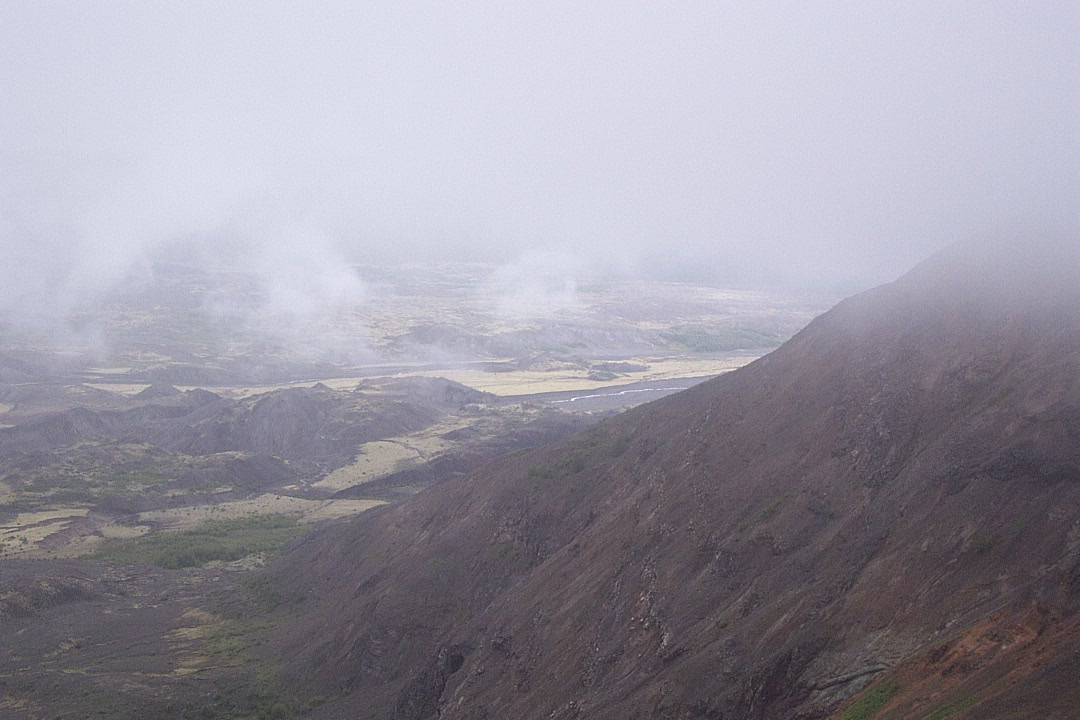
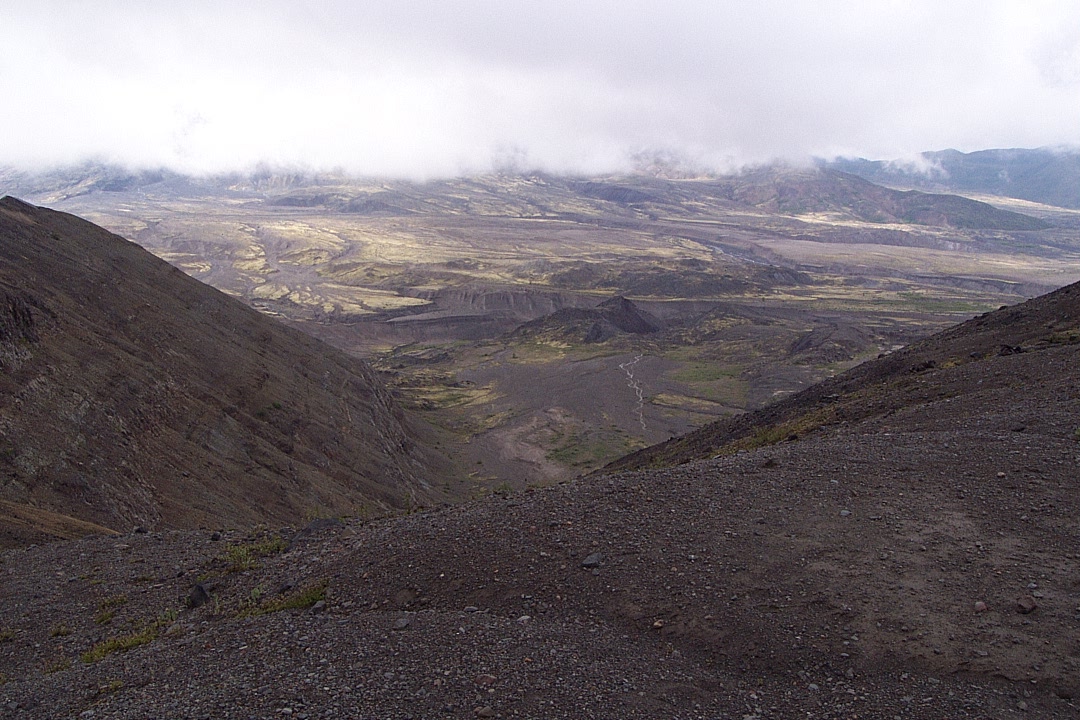
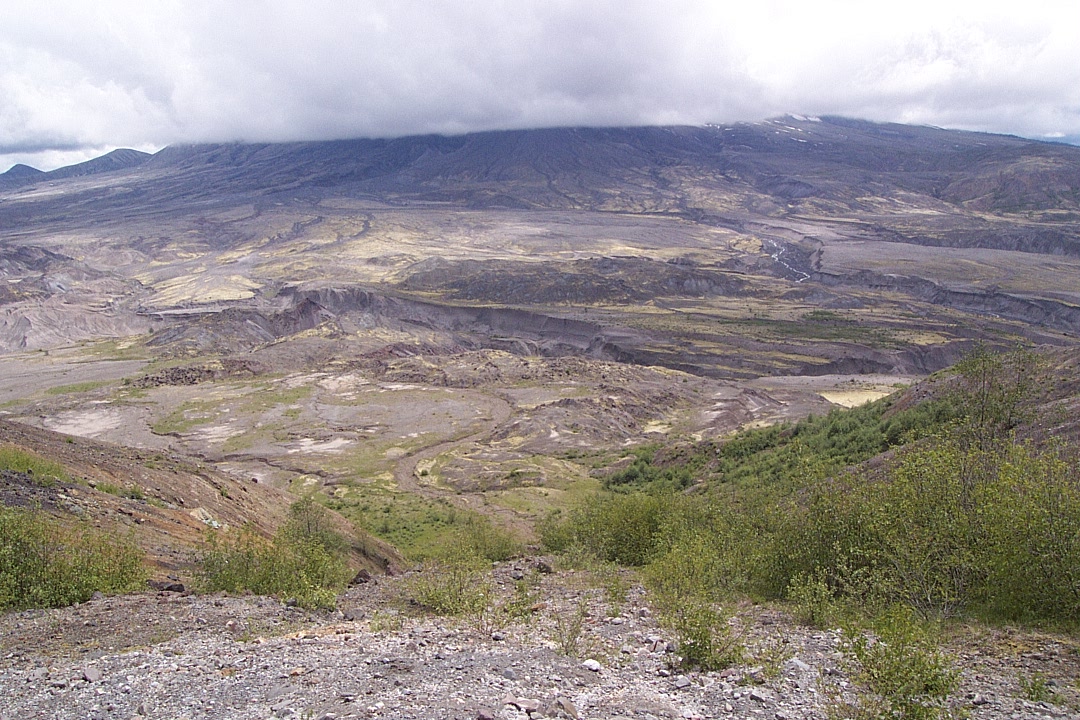
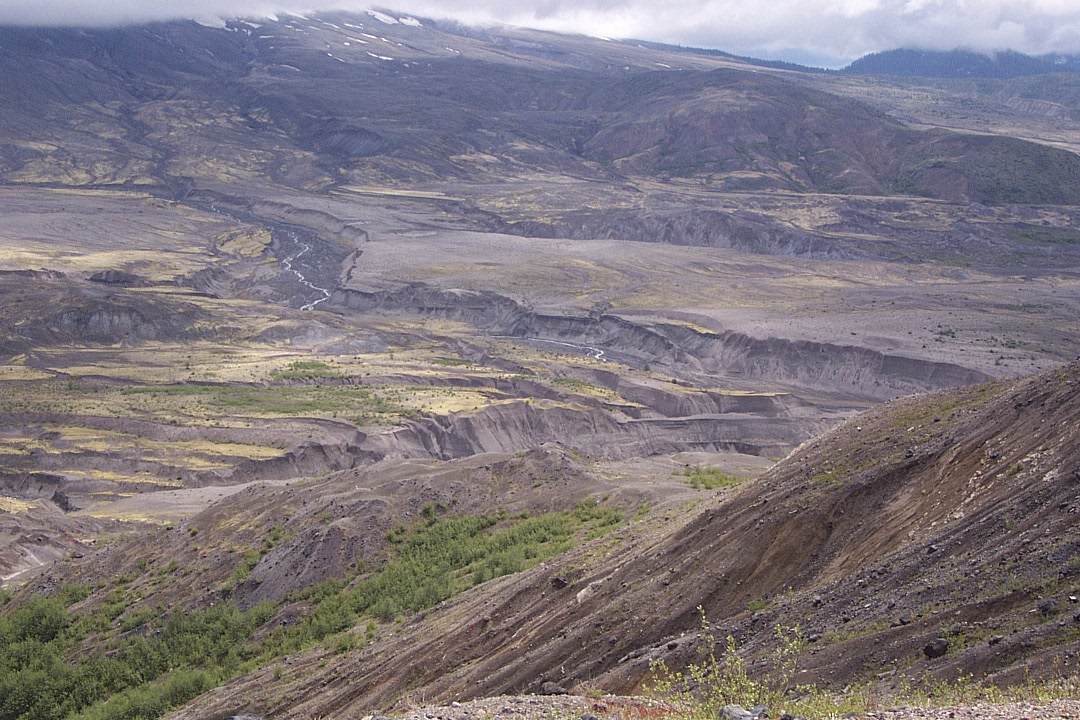
Meanwhile, down in the blast zone, a hopeful sign.

A view of the road coming up to the visitor center and parking lot.

As I said, sometimes "bad" weather can be good.
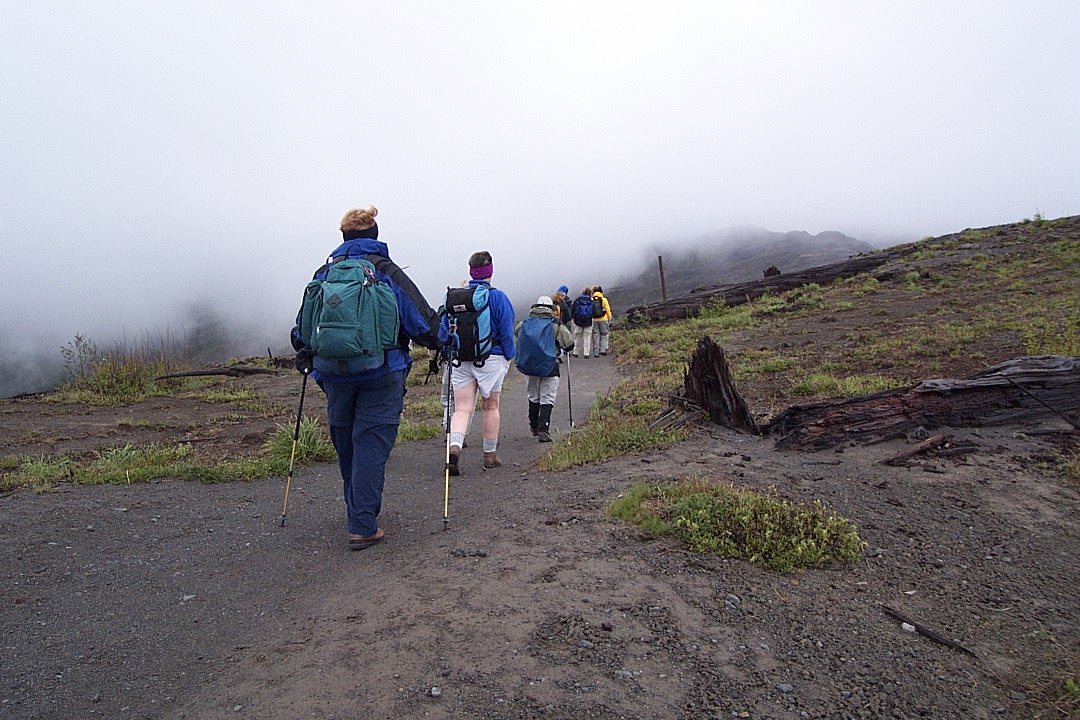
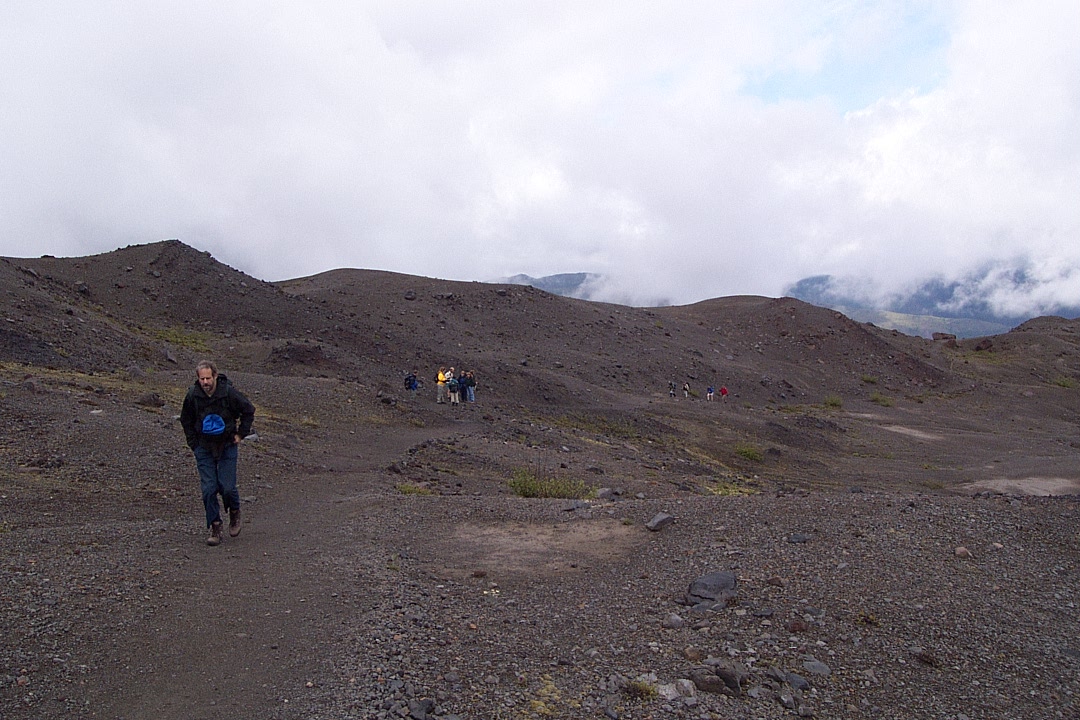
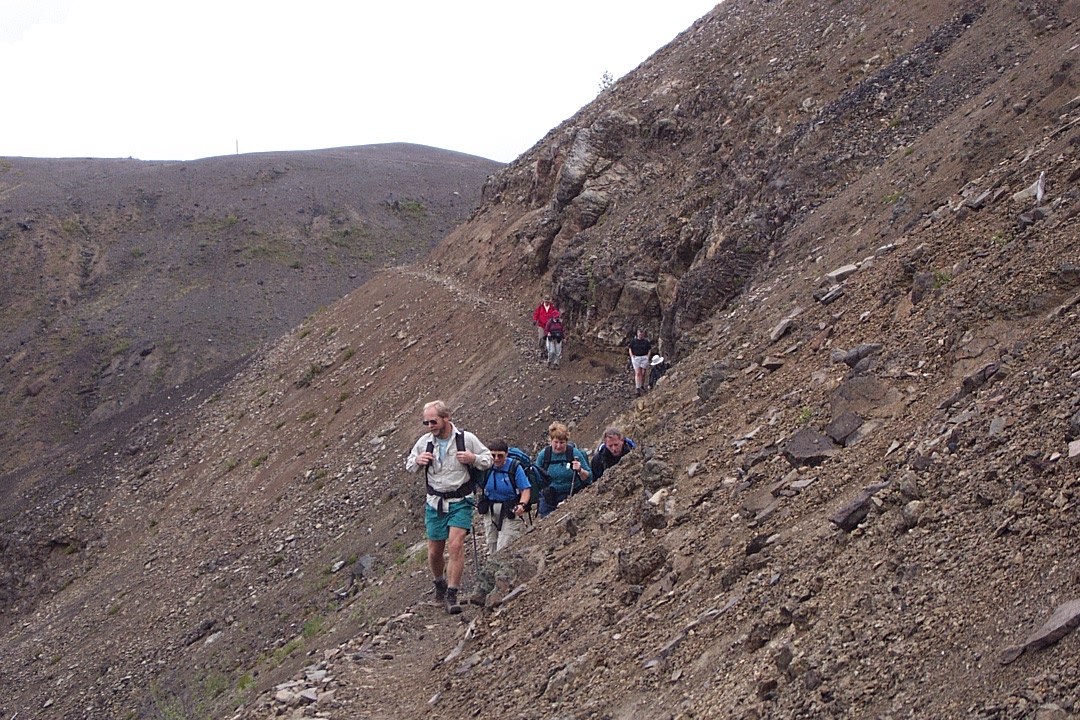
Let the tromping begin.
Crew, motley, one each, resting phase.

Really — lovely day.
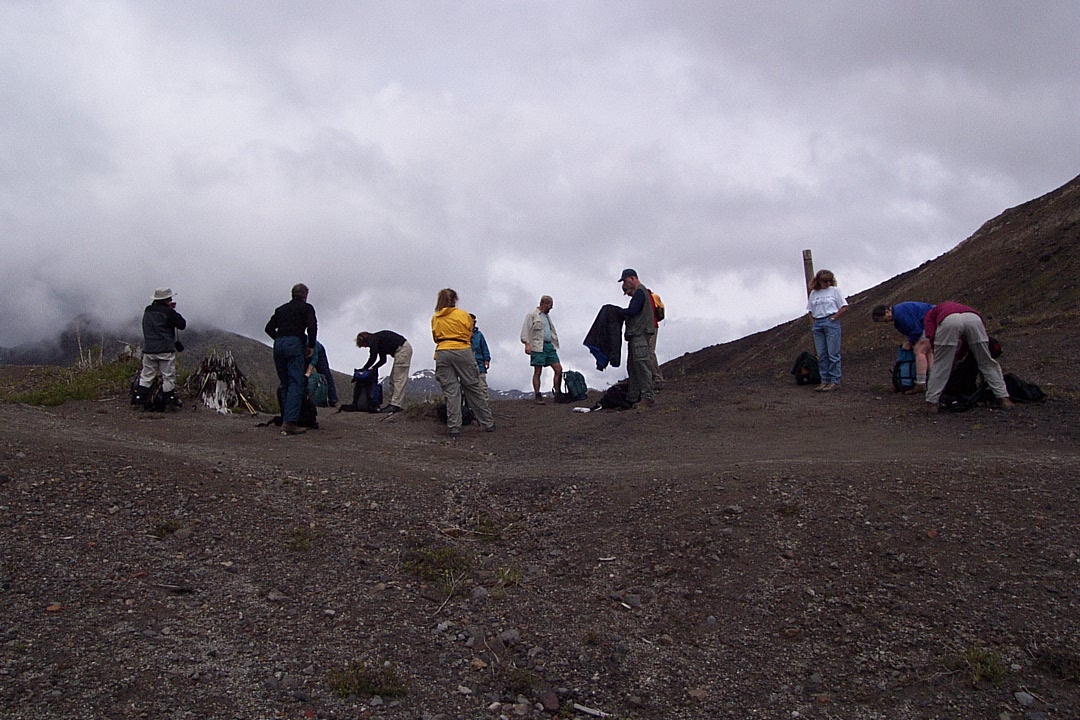
There be fog!
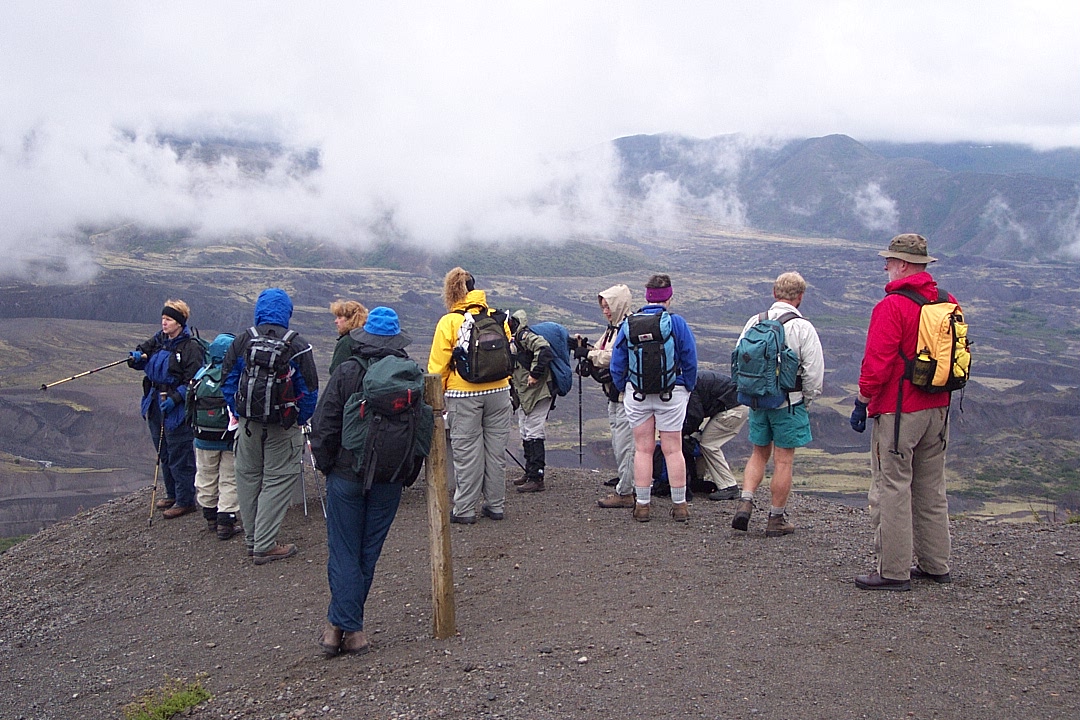
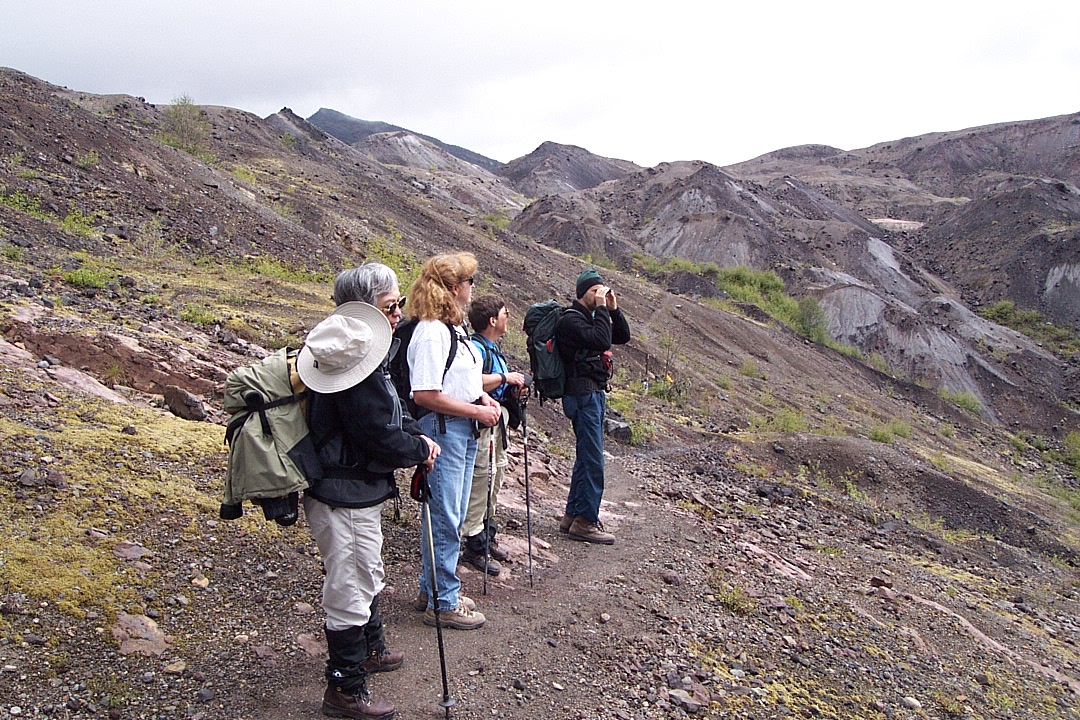
The view from the advance party.
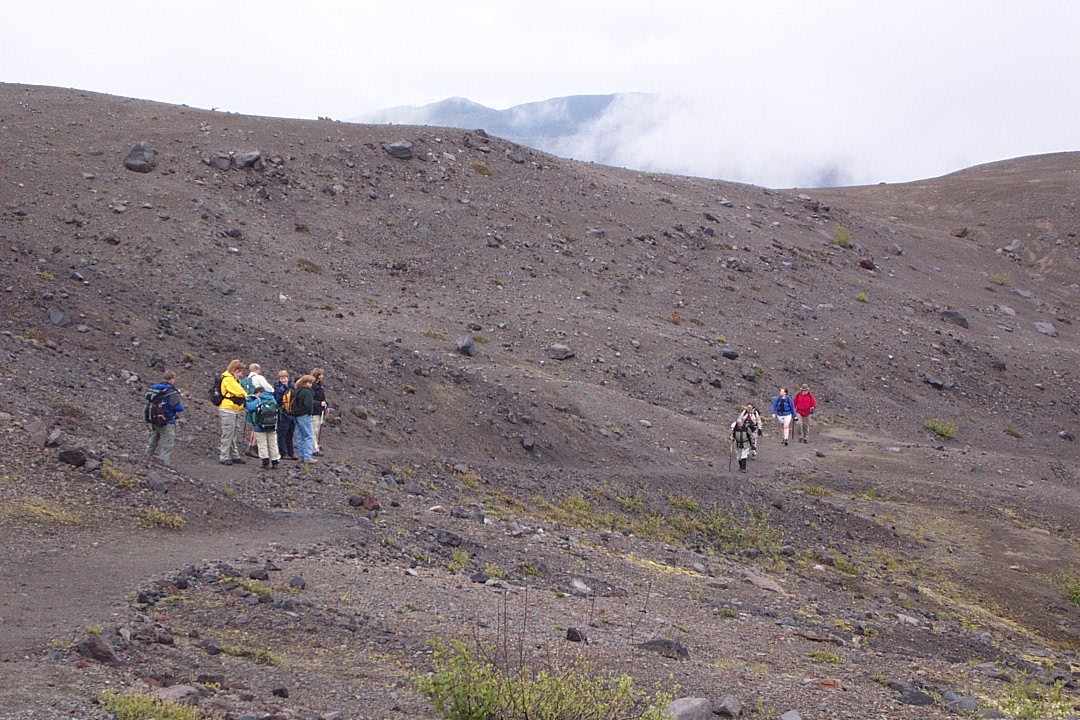
Some dither, some hike. Some only take pictures.
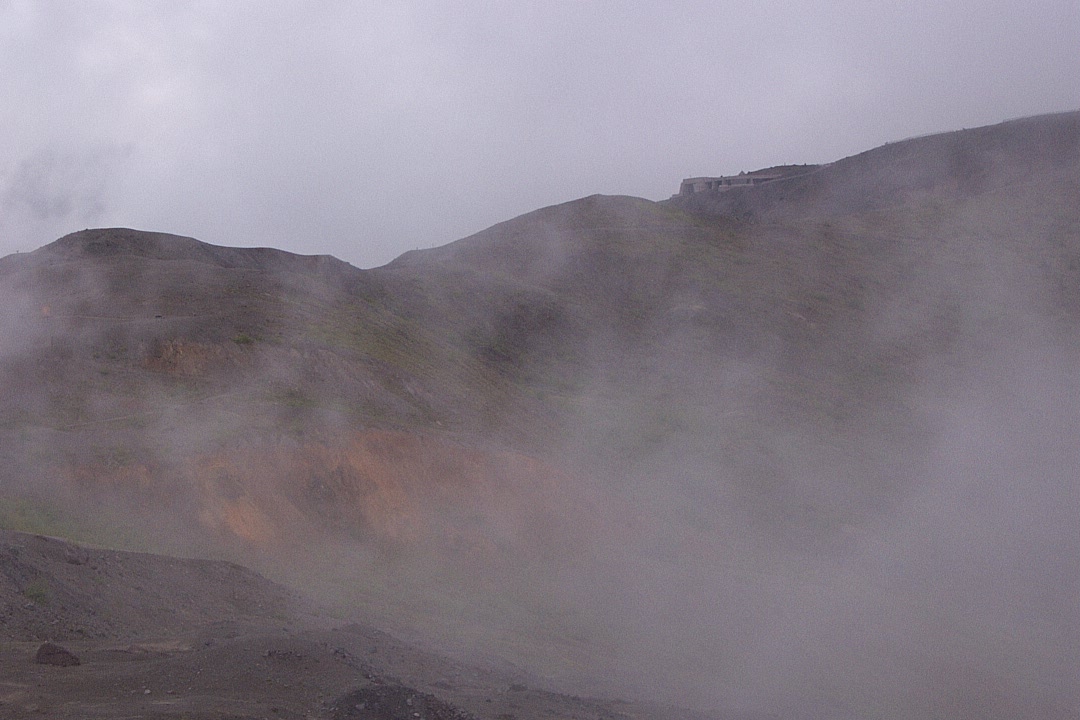
Attack of the killer fog.

Fills the valleys, it does.

And rises, spilling over the ridge

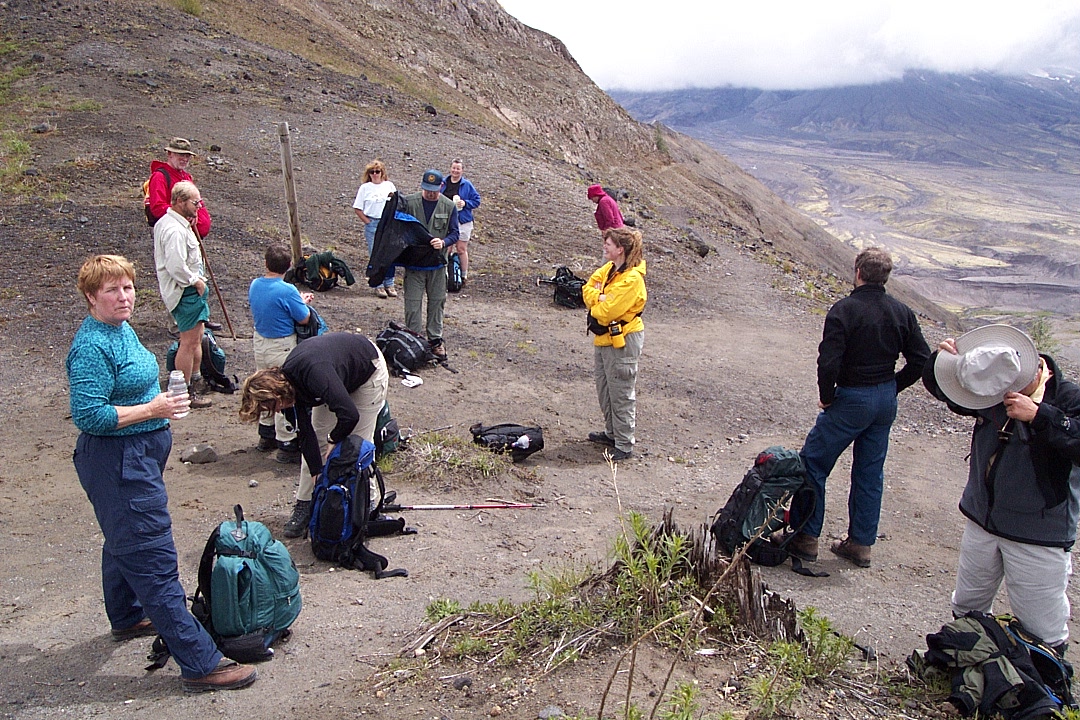
Time for another break.
A bit of pseudosun.

Yet another break (these people get it).

It's a wonderful landscape, and fine to explore when damp (no dust).
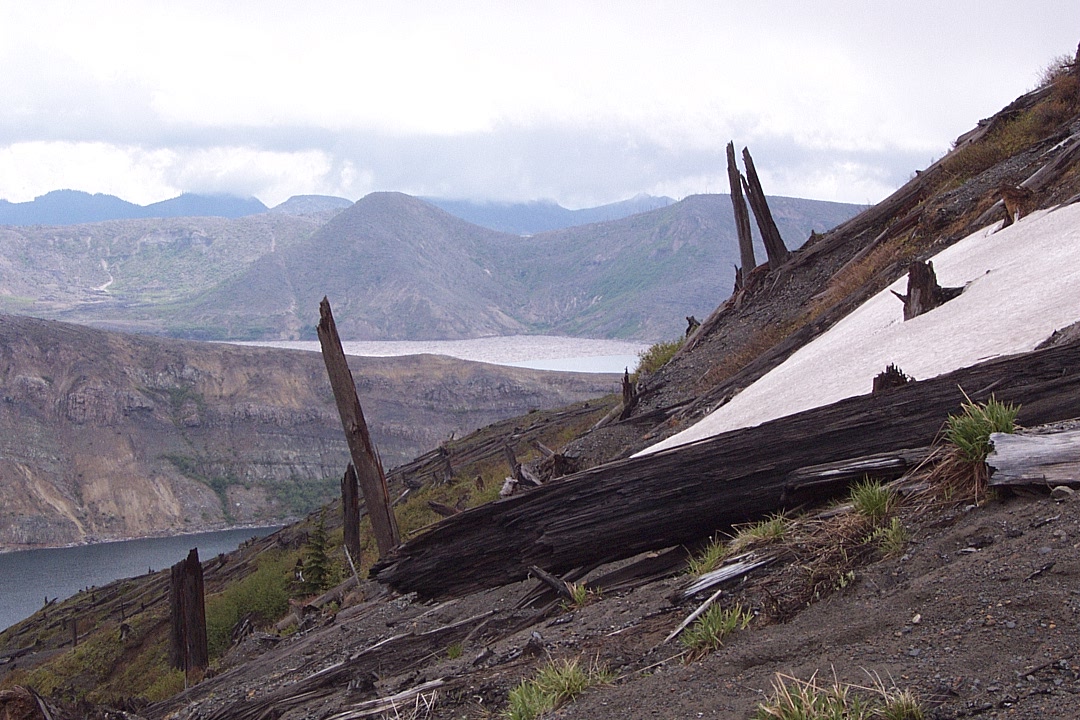
Then we skirt a finger of land above the abyss.
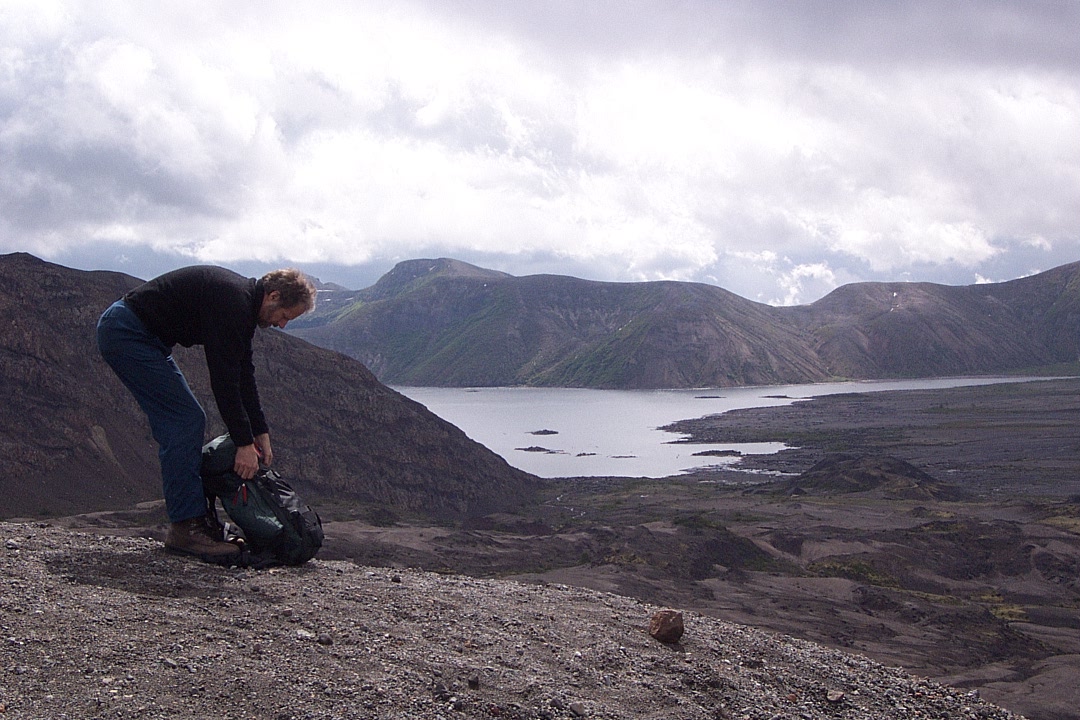
The upper end of Spirit Lake appears.
Toward the mountain.

The "hummock" area. There's a trail through there, you know.
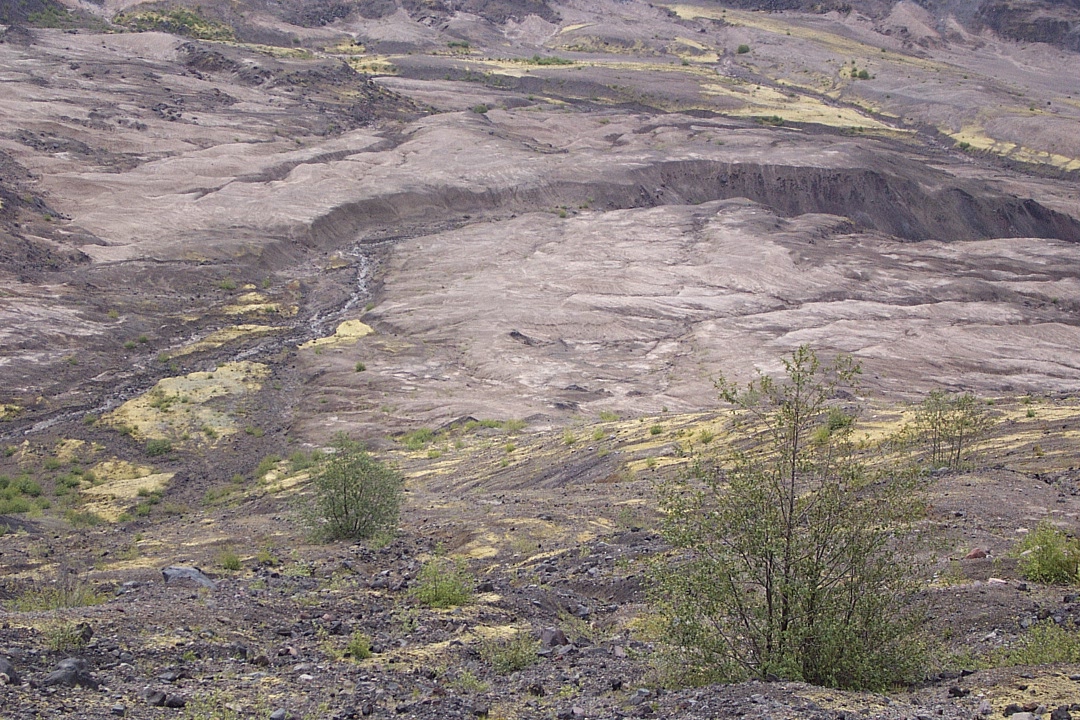
Right below our feet, things suddenly become interesting.
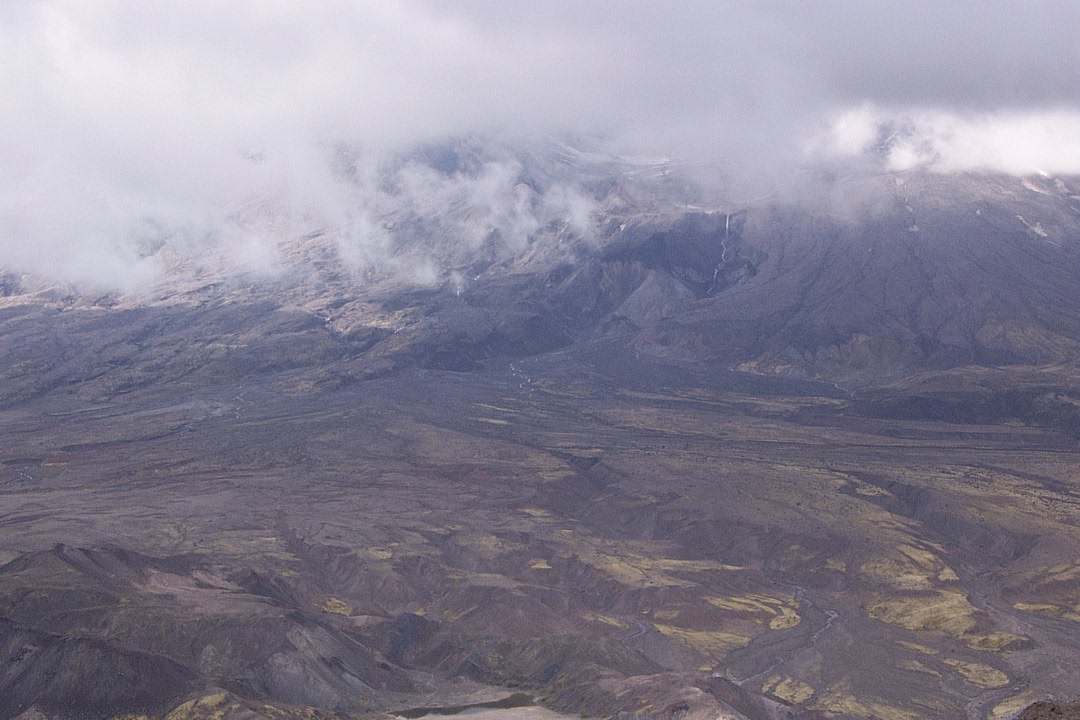
Back to the mountain — fog or death-gas?
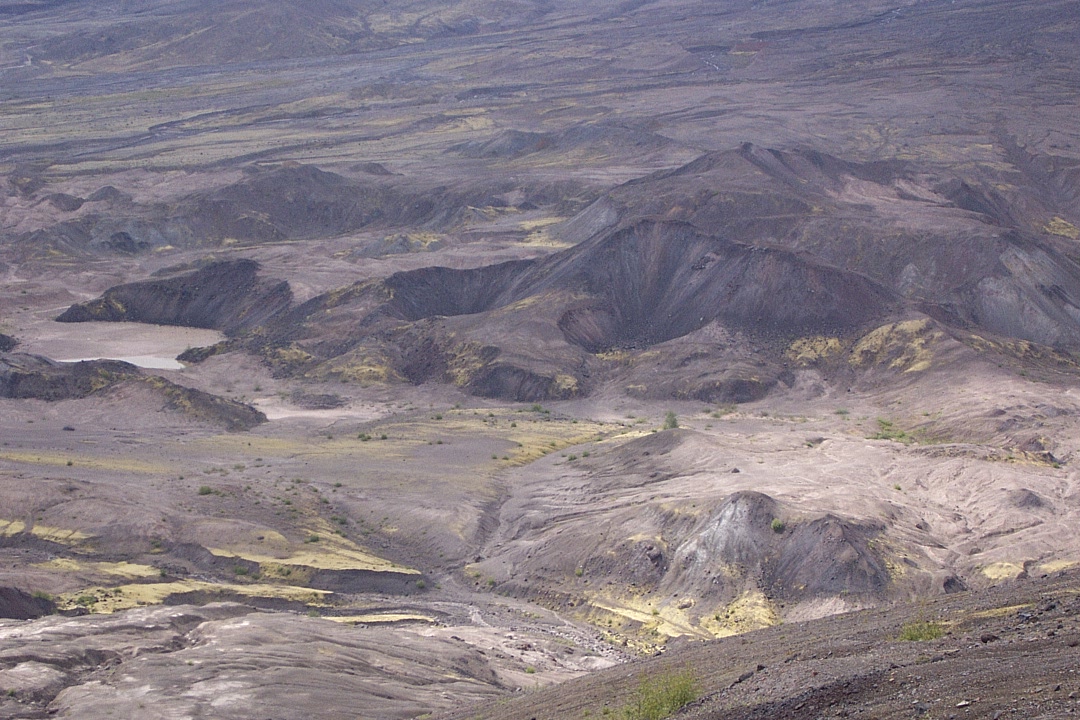
More hummocks, still inviting.
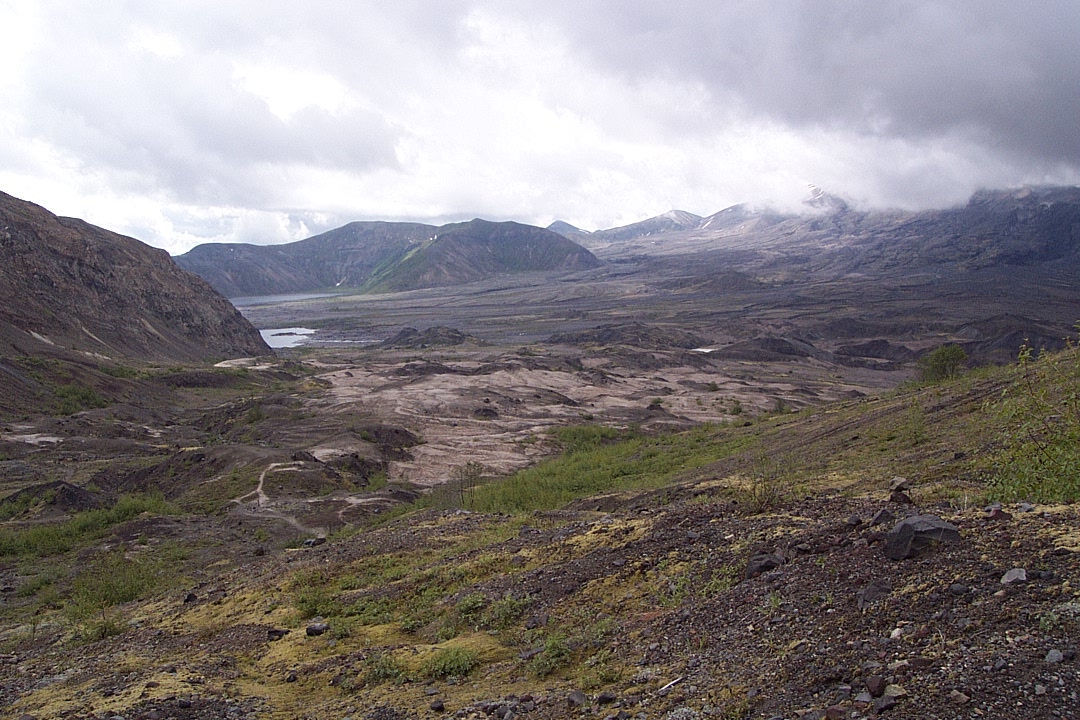
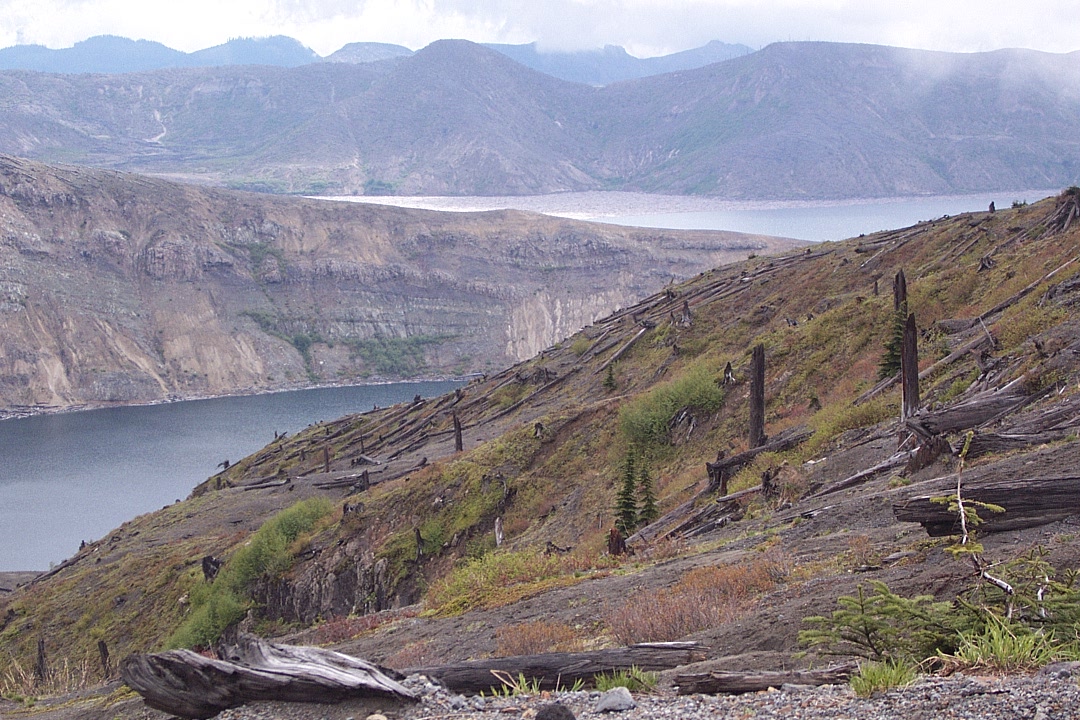
The tip of Spirit Lake, Windy Ridge in the far background.
Over and above those hummocks is Harry's Ridge.
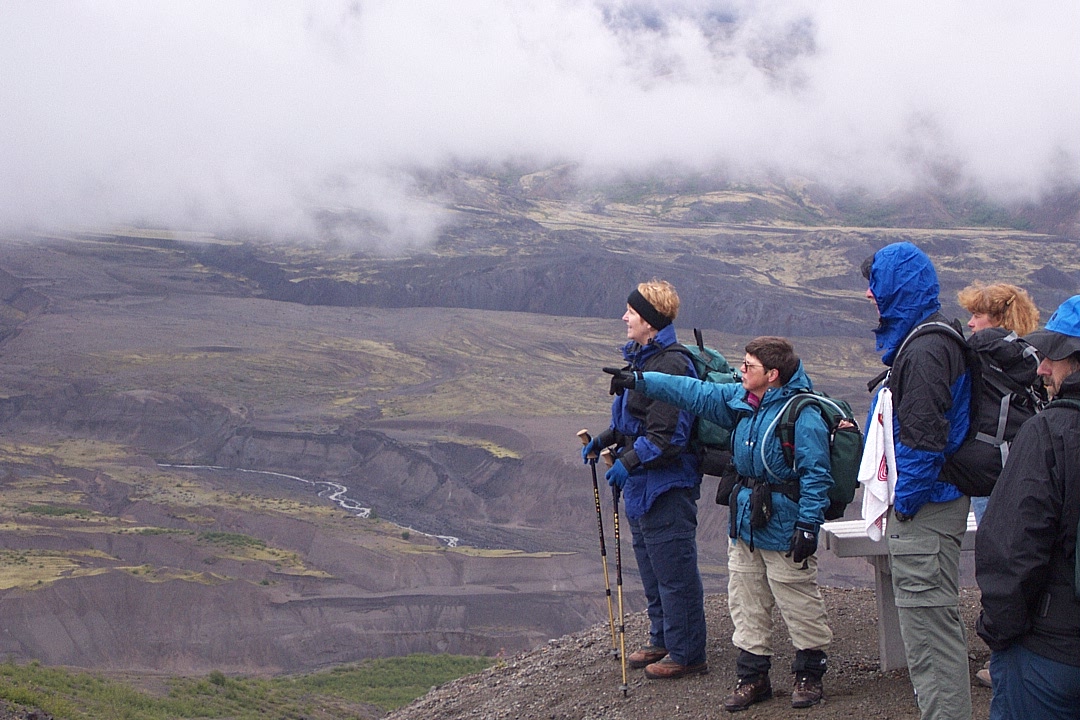
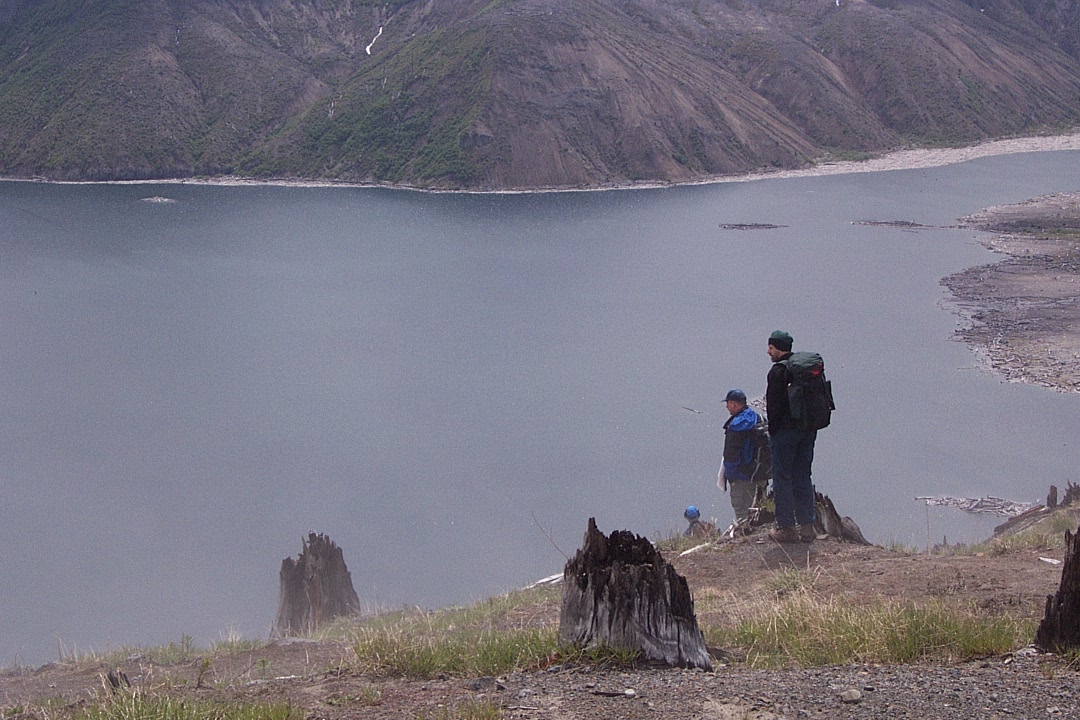
What they're looking at — Spirit Lake on left.
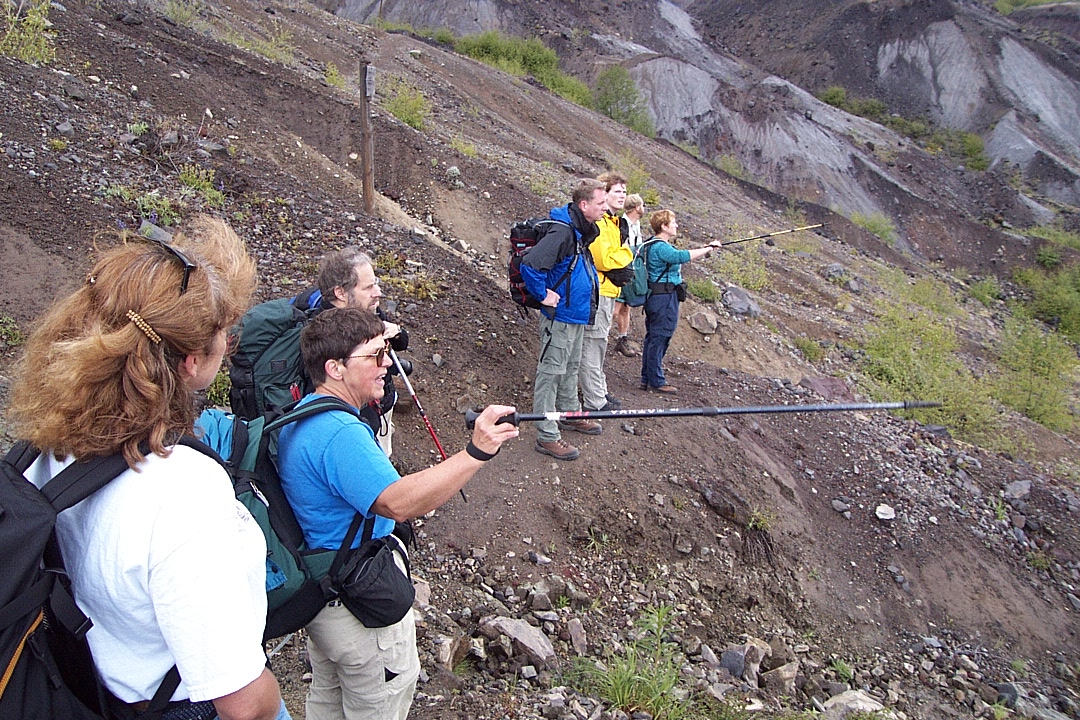
And an example of how to use trekking poles.

Here come da fog.

An shrubbery was caught before it could get away.
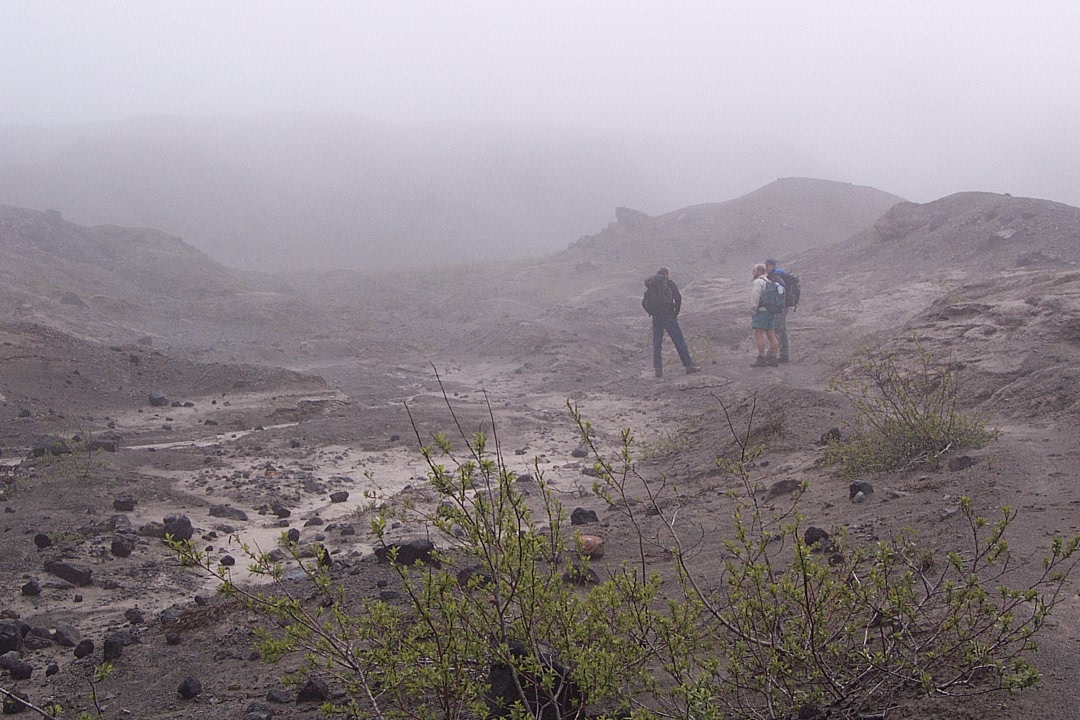
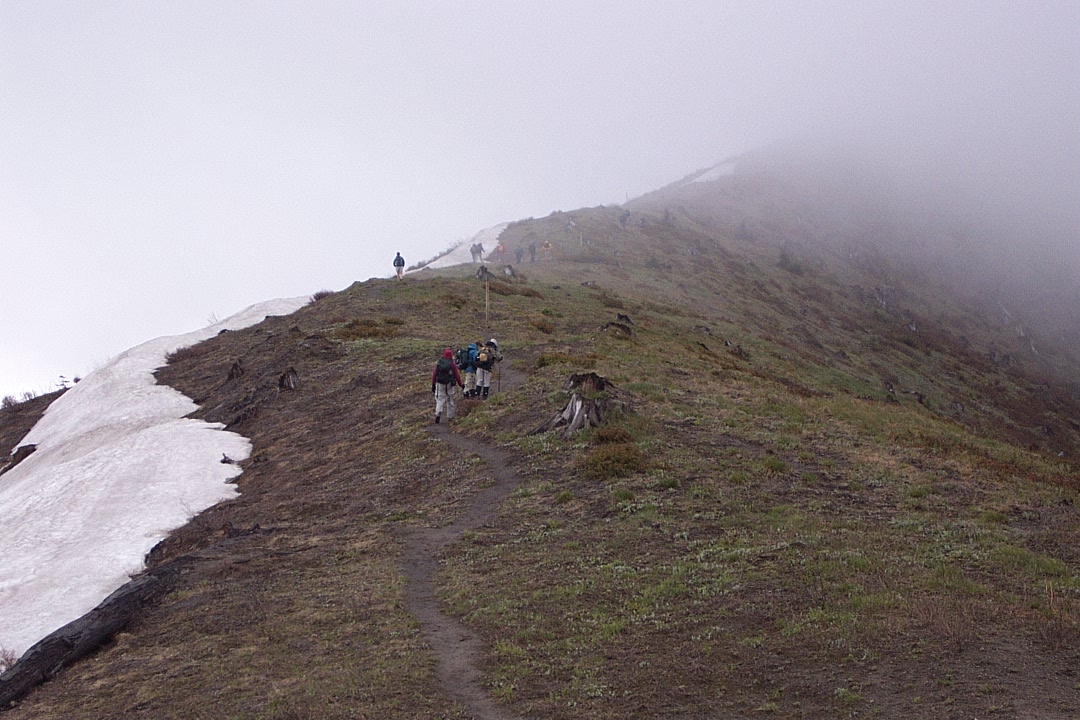
Likewise with three hikers who became mired in foggliness.

The landscape too — trapped, all trapped.

Even the distance was locked up by the all-enveloping fog.
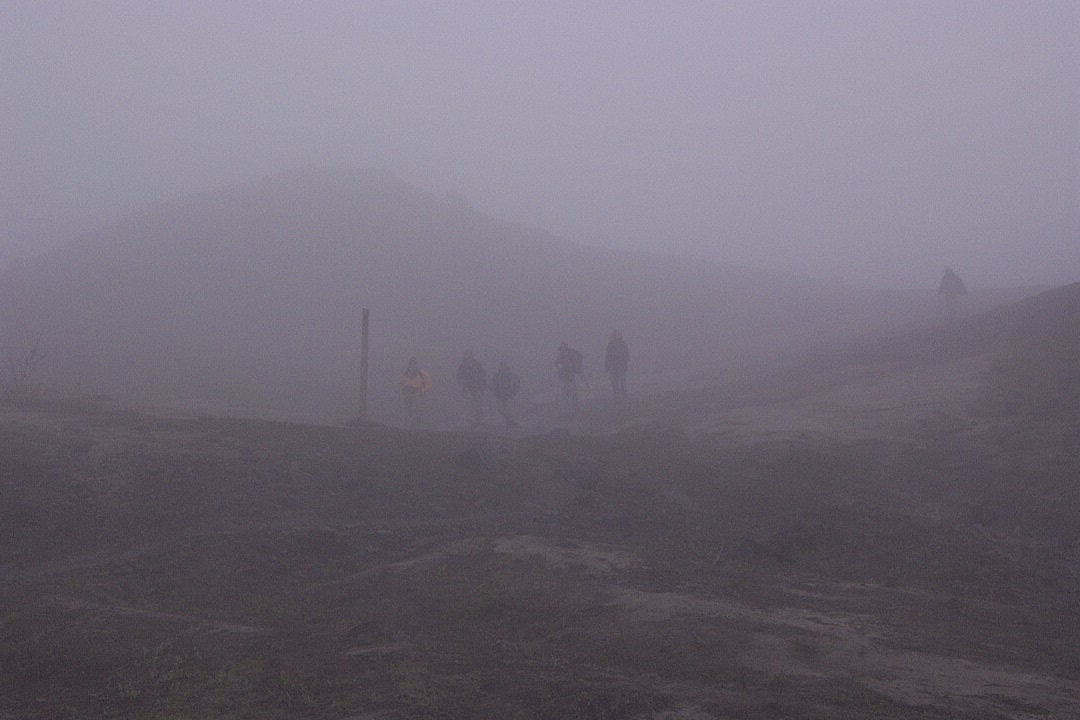
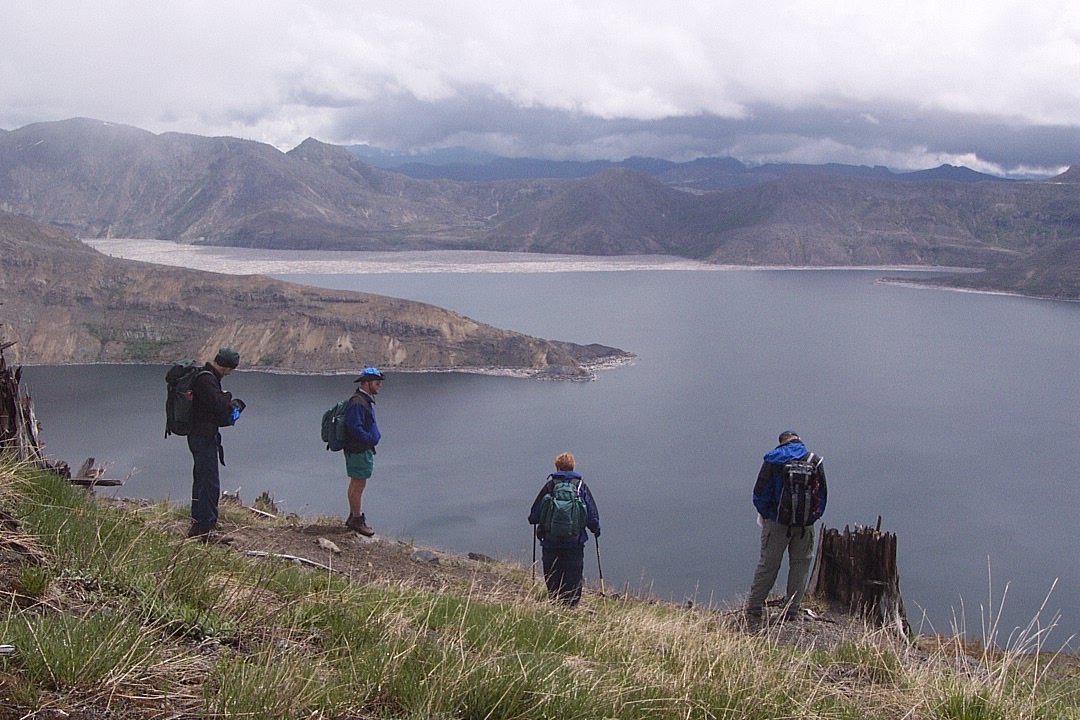
Six hikers tromp by a trail marker — toward what? What?
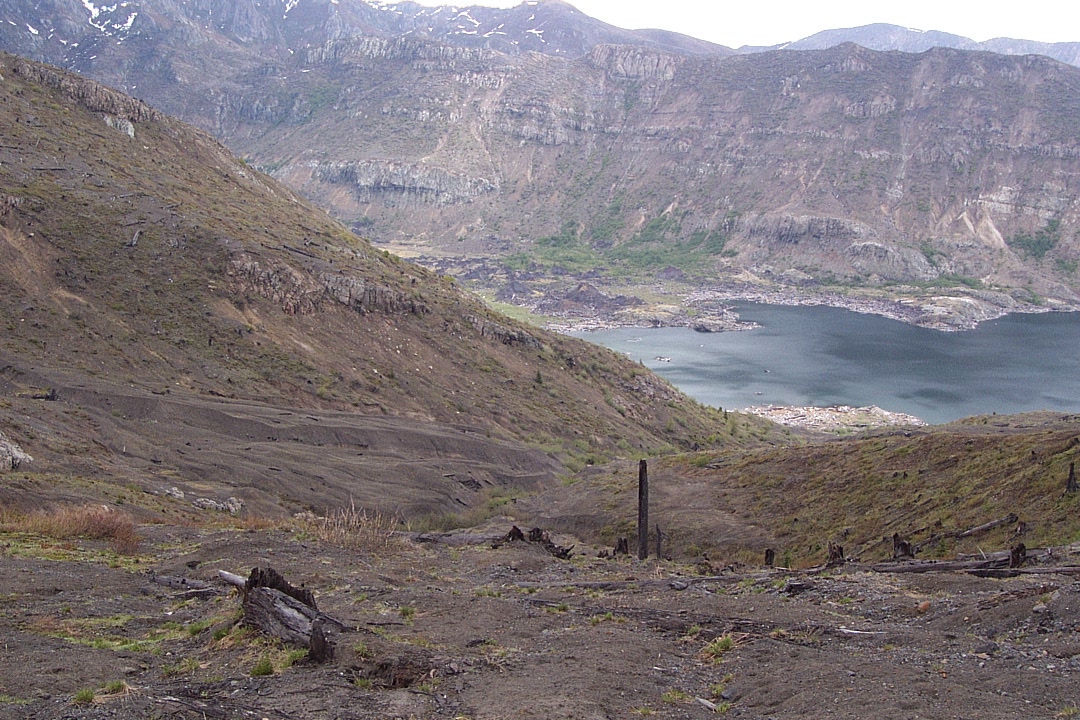
Ahhh — now we see. The upper (northeast) side of Spirit Lake.
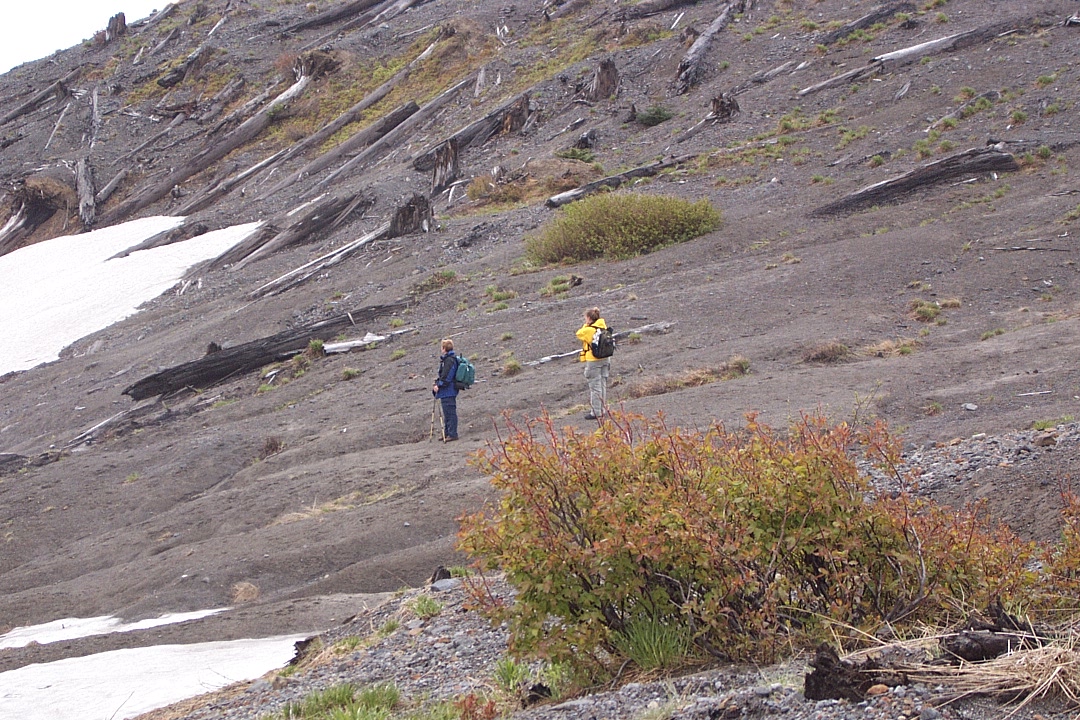
Hikers in landscape may appear much smaller than they are.
The way upper end of one lobe of Spirit Lake.
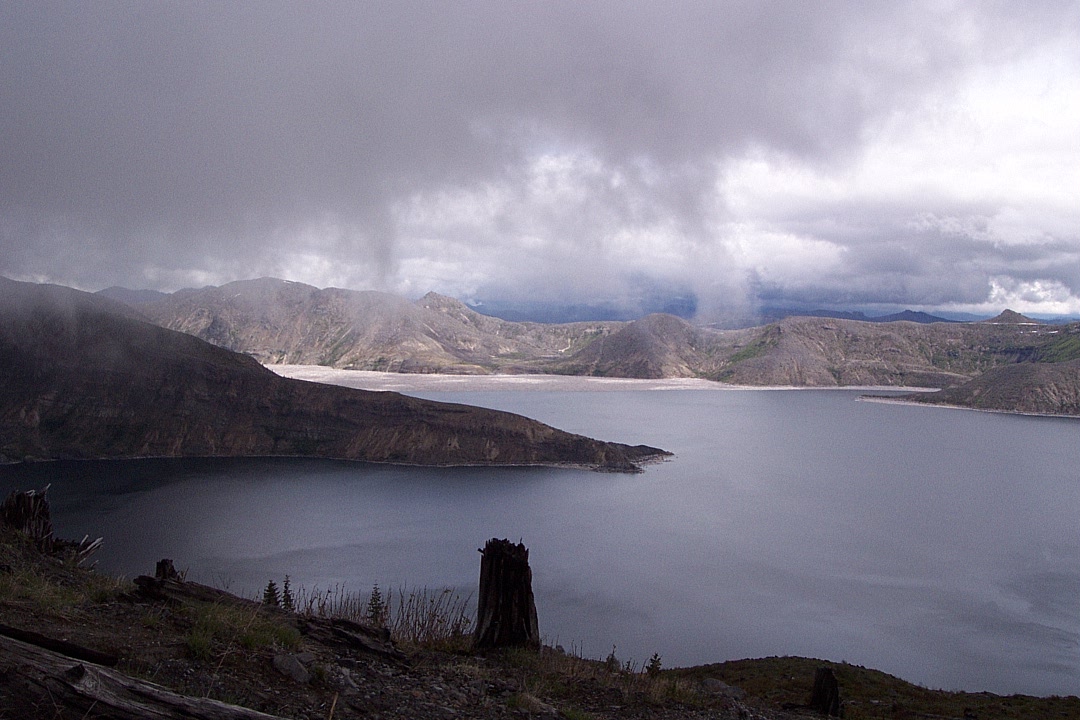
Across Spirit Lake toward Windy Ridge.
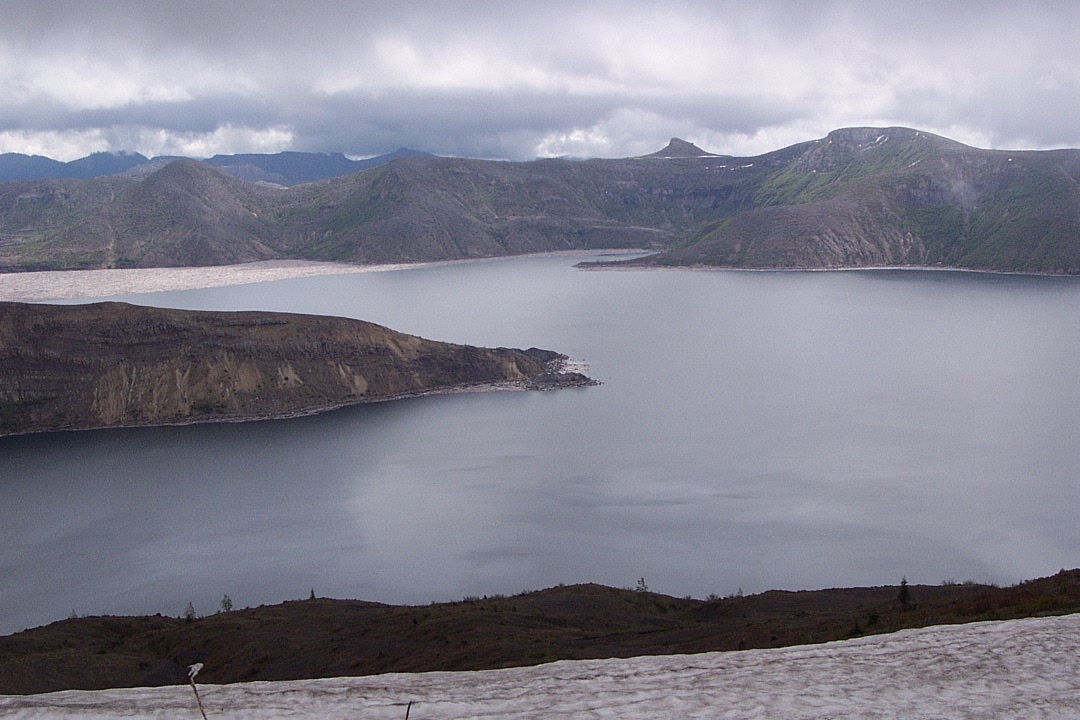
Bottom: snow. Upper left: floating logs from 1980 (21 years before).
We go south-ish, up to the actual Harry's Ridge.
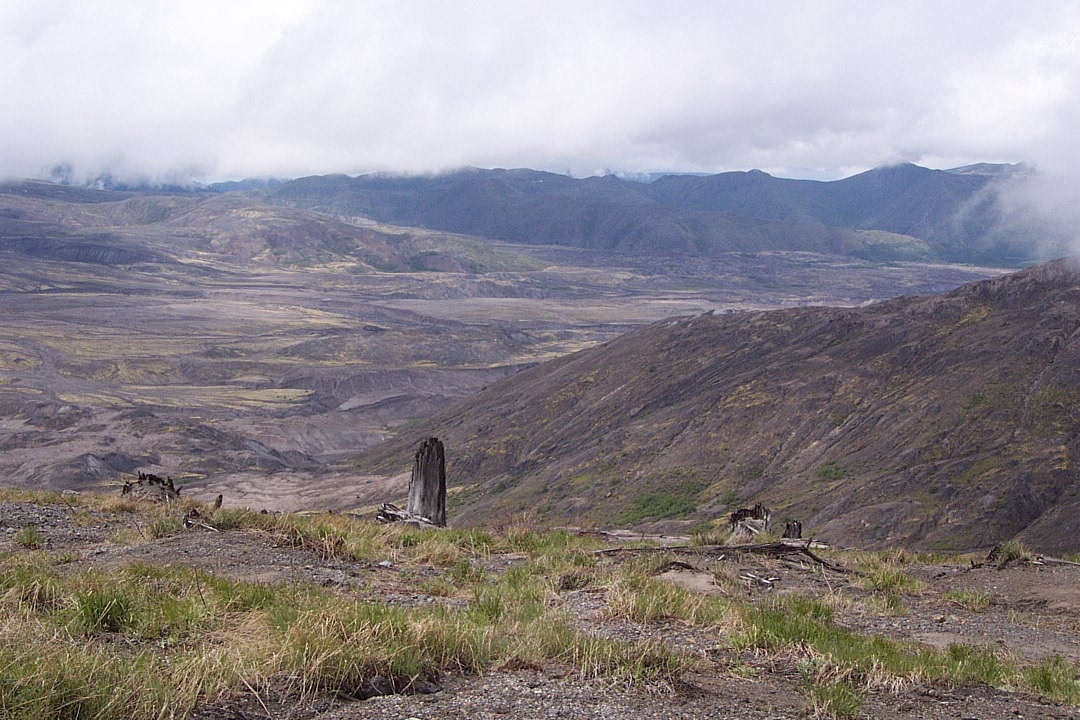
Near the top, there are more views of the blast zone.

Up on top of Harry's Ridge — kinda bare.
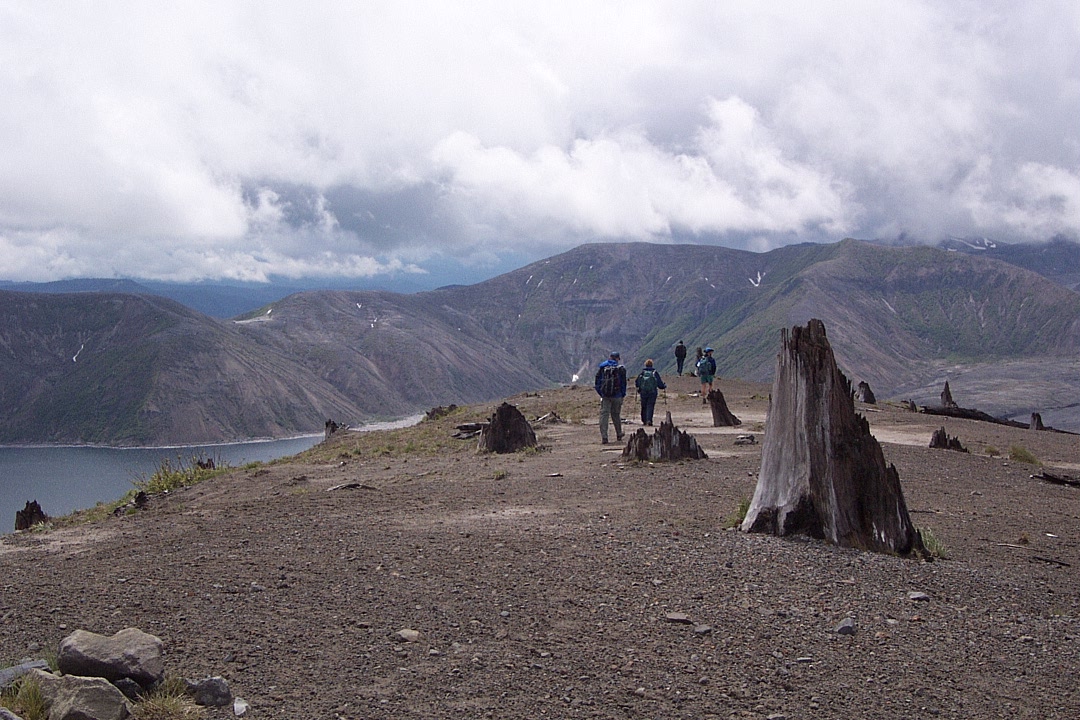
Still not much there after nearly a quarter century.
But it's great for views, like this one directly above Spirit Lake.

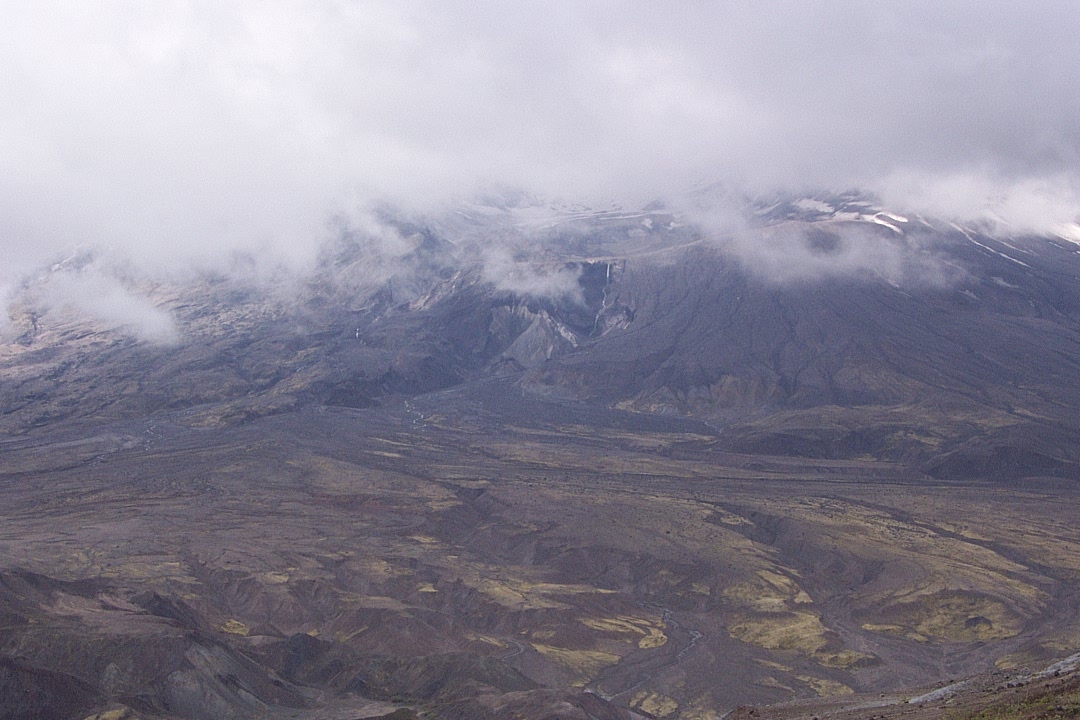
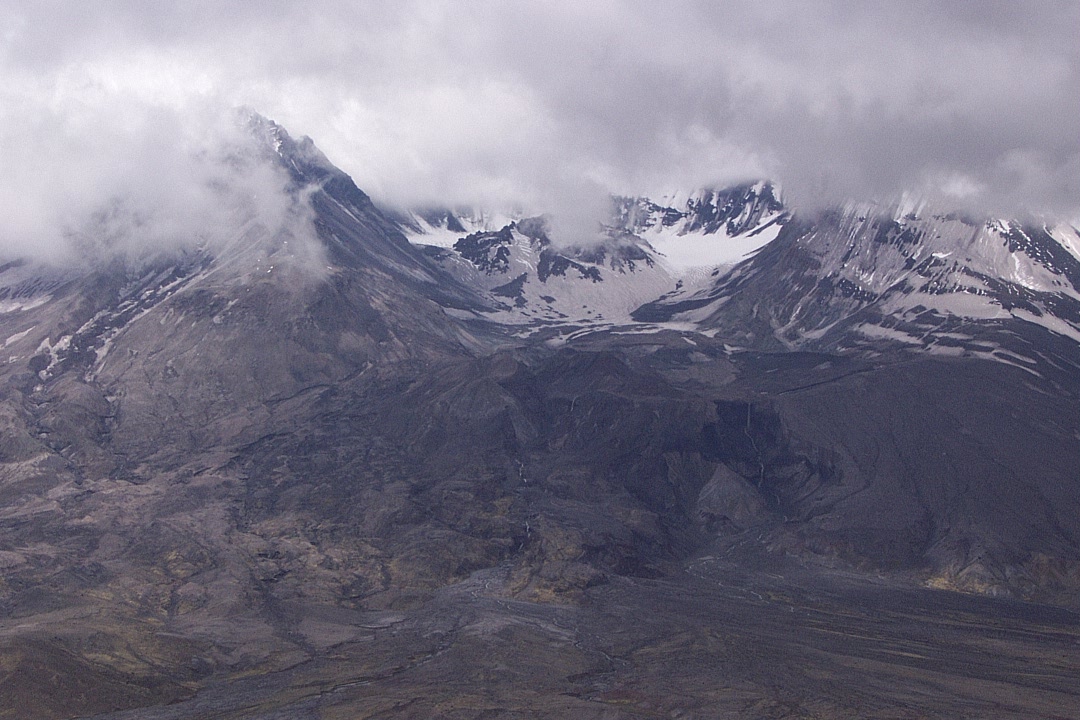
Meanwhile, the actual mountain seems to be enjoying its fog bath.
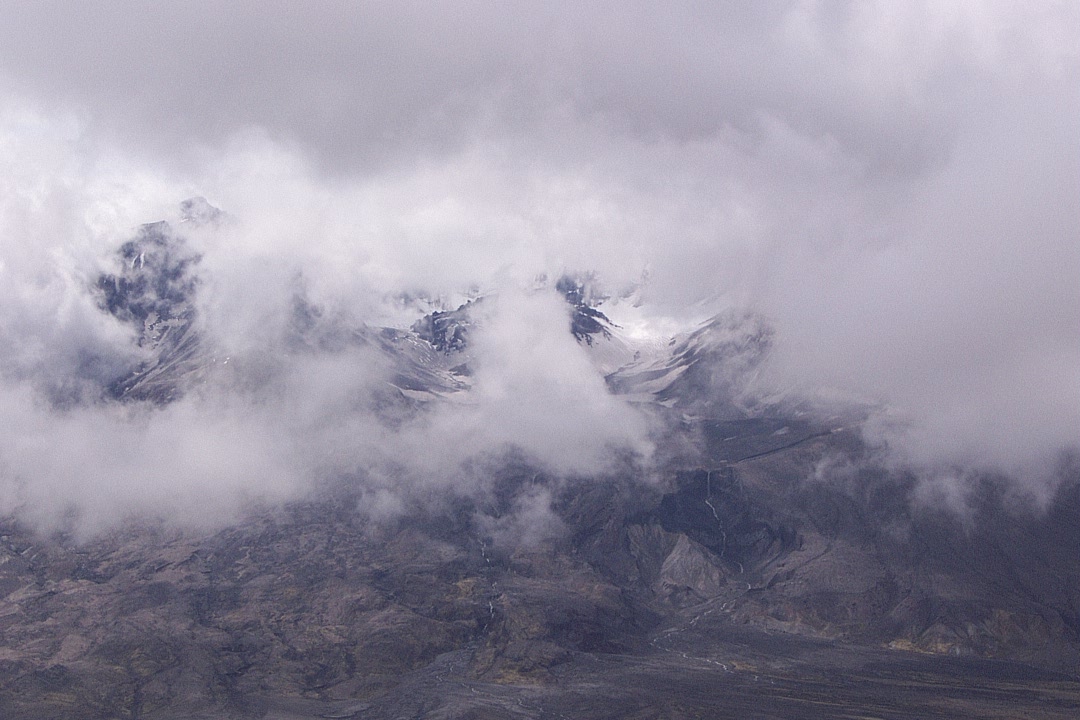
A closer look into the crater.
Looking mostly east, and a little north.
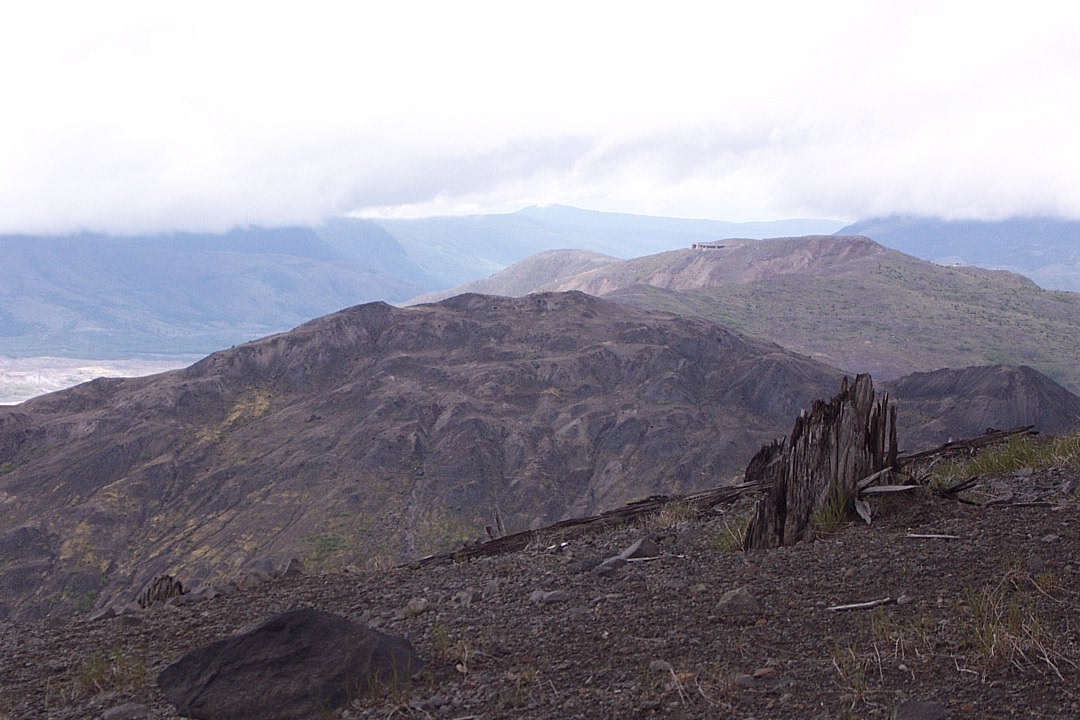
Straight across east, toward Windy Ridge, which one can drive to.

The stumps are from snapped-off trees. The rest blew away.

The southwest end of Spirit Lake, and its eruption-created earth dam.
The crater clears for a moment...

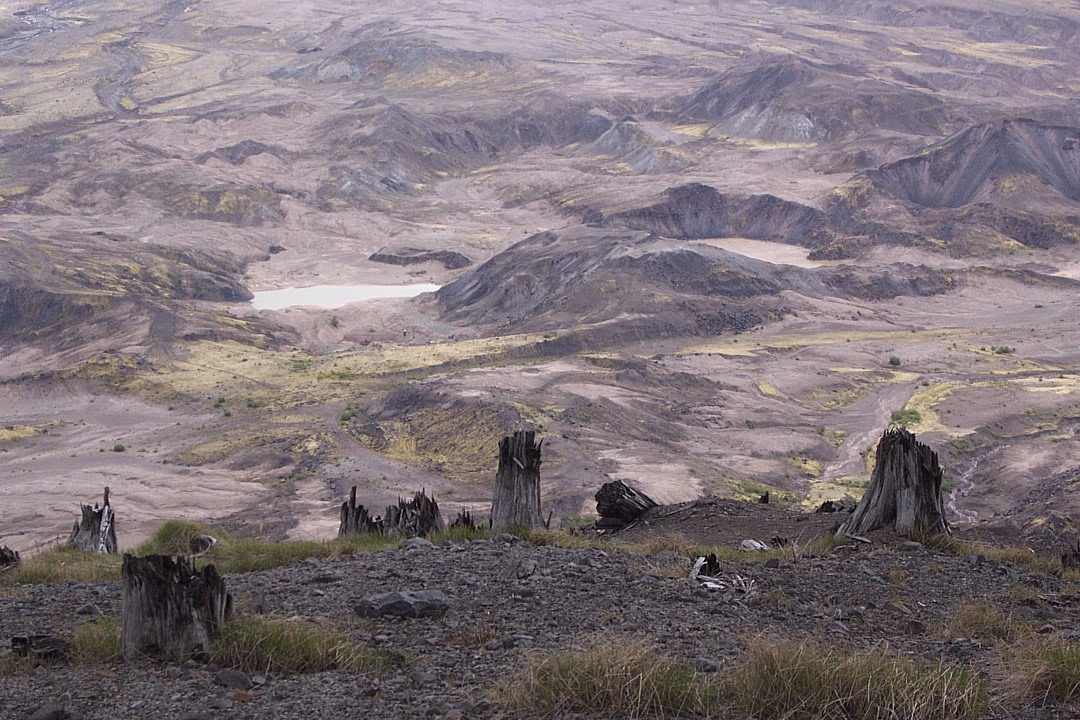
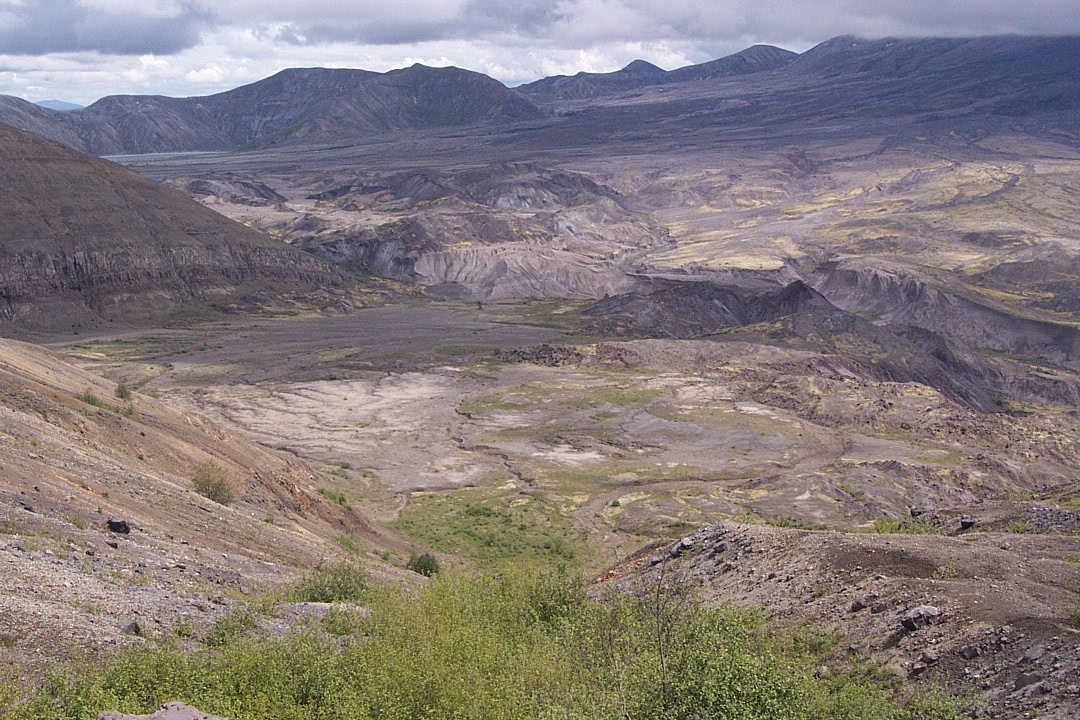
The main part of the blast zone lies right beneath it.
Then a little sunshine with clouds coming and going.

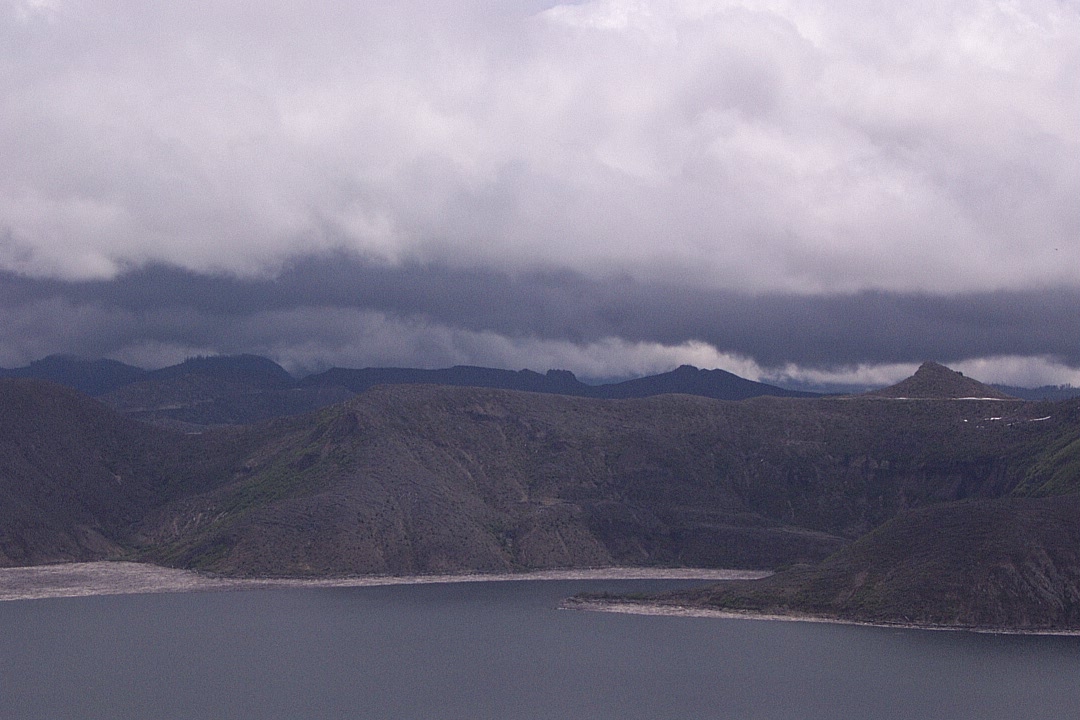
From the southern end of Harry's Ridge, past the end of Spirit Lake.
And a little farther off to the right (west).
A look down onto the "hummocks" area from above.

Time to go, and it's all uphill from here.
No more fog, but plenty of time for a break.

The route back west toward the Johnston Ridge visitor center.

The delightfully steep part.

No — seriously. Steep.

I forget which one this is. Still nice to see it.

Very colorful. Close to the actual colors.
After an up-and-down trudge, time to shed some insulation.
Almost sunny again. Good excuse for another break.
And the view from there, directly toward the mountain.
The blast zone a little to the west.
And back east toward Windy Ridge (background).
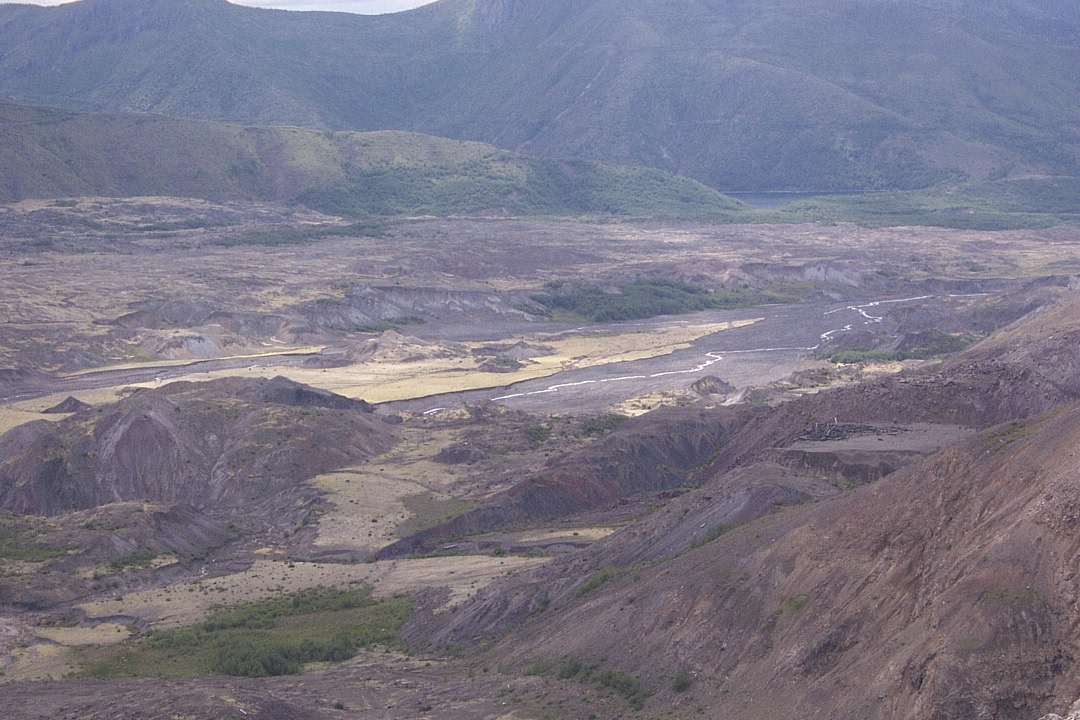
Upper Toutle River way down there to the west.

Just about back to the parking lot. The end.
More:
Harry's Ridge at Washington Trails Association
Harry's Ridge Hike at NWHiker
Harry's Ridge Trail #1E at Mount St. Helens National Volcanic Monument
Recreation Vicinity Map (pdf) at Mount St. Helens National Volcanic Monument
Mount St. Helens Visitor Map (pdf) at Mount St. Helens National Volcanic Monument
 Alaska
 Camo
Camo Comics
 Hiroshige